Ever looked at your walls and thought they could use a little TLC? Most walls can be repaired to look smooth, and in this article we outline the process of transforming rough, unfinished walls into beautifully refined surfaces. With our step-by-step instructions, accompanied by insights into essential drywall techniques and best practices, we aim to equip you with the skills and confidence to elevate any space with professional-quality drywall finishing.
Now keep in mind this work requires physical labour, so if you realize that you’ve bitten too much than you can chew, call our team at 250-880-8849 in Victoria and 604-913-4656 in Vancouver BC. Our experts are always ready to step in and give you a hand, ensuring the job gets done efficiently and safely. Whether you’re tackling a challenging project or just need some guidance, we’re here to help with professional support and advice. Plus, feel free to ask us about home organization and design tips to make your space more functional and visually appealing!
At Drywall Medic, our purpose is to empower homeowners and professionals alike with the knowledge and expertise needed to achieve flawless drywall finishes. Get ready to dive into the nitty-gritty of drywall finishing, where we will transform your walls from drab to fab, one step at a time. Let’s get started!
The Fundamentals of Finishing Drywall From the Experts: Drywall Medic
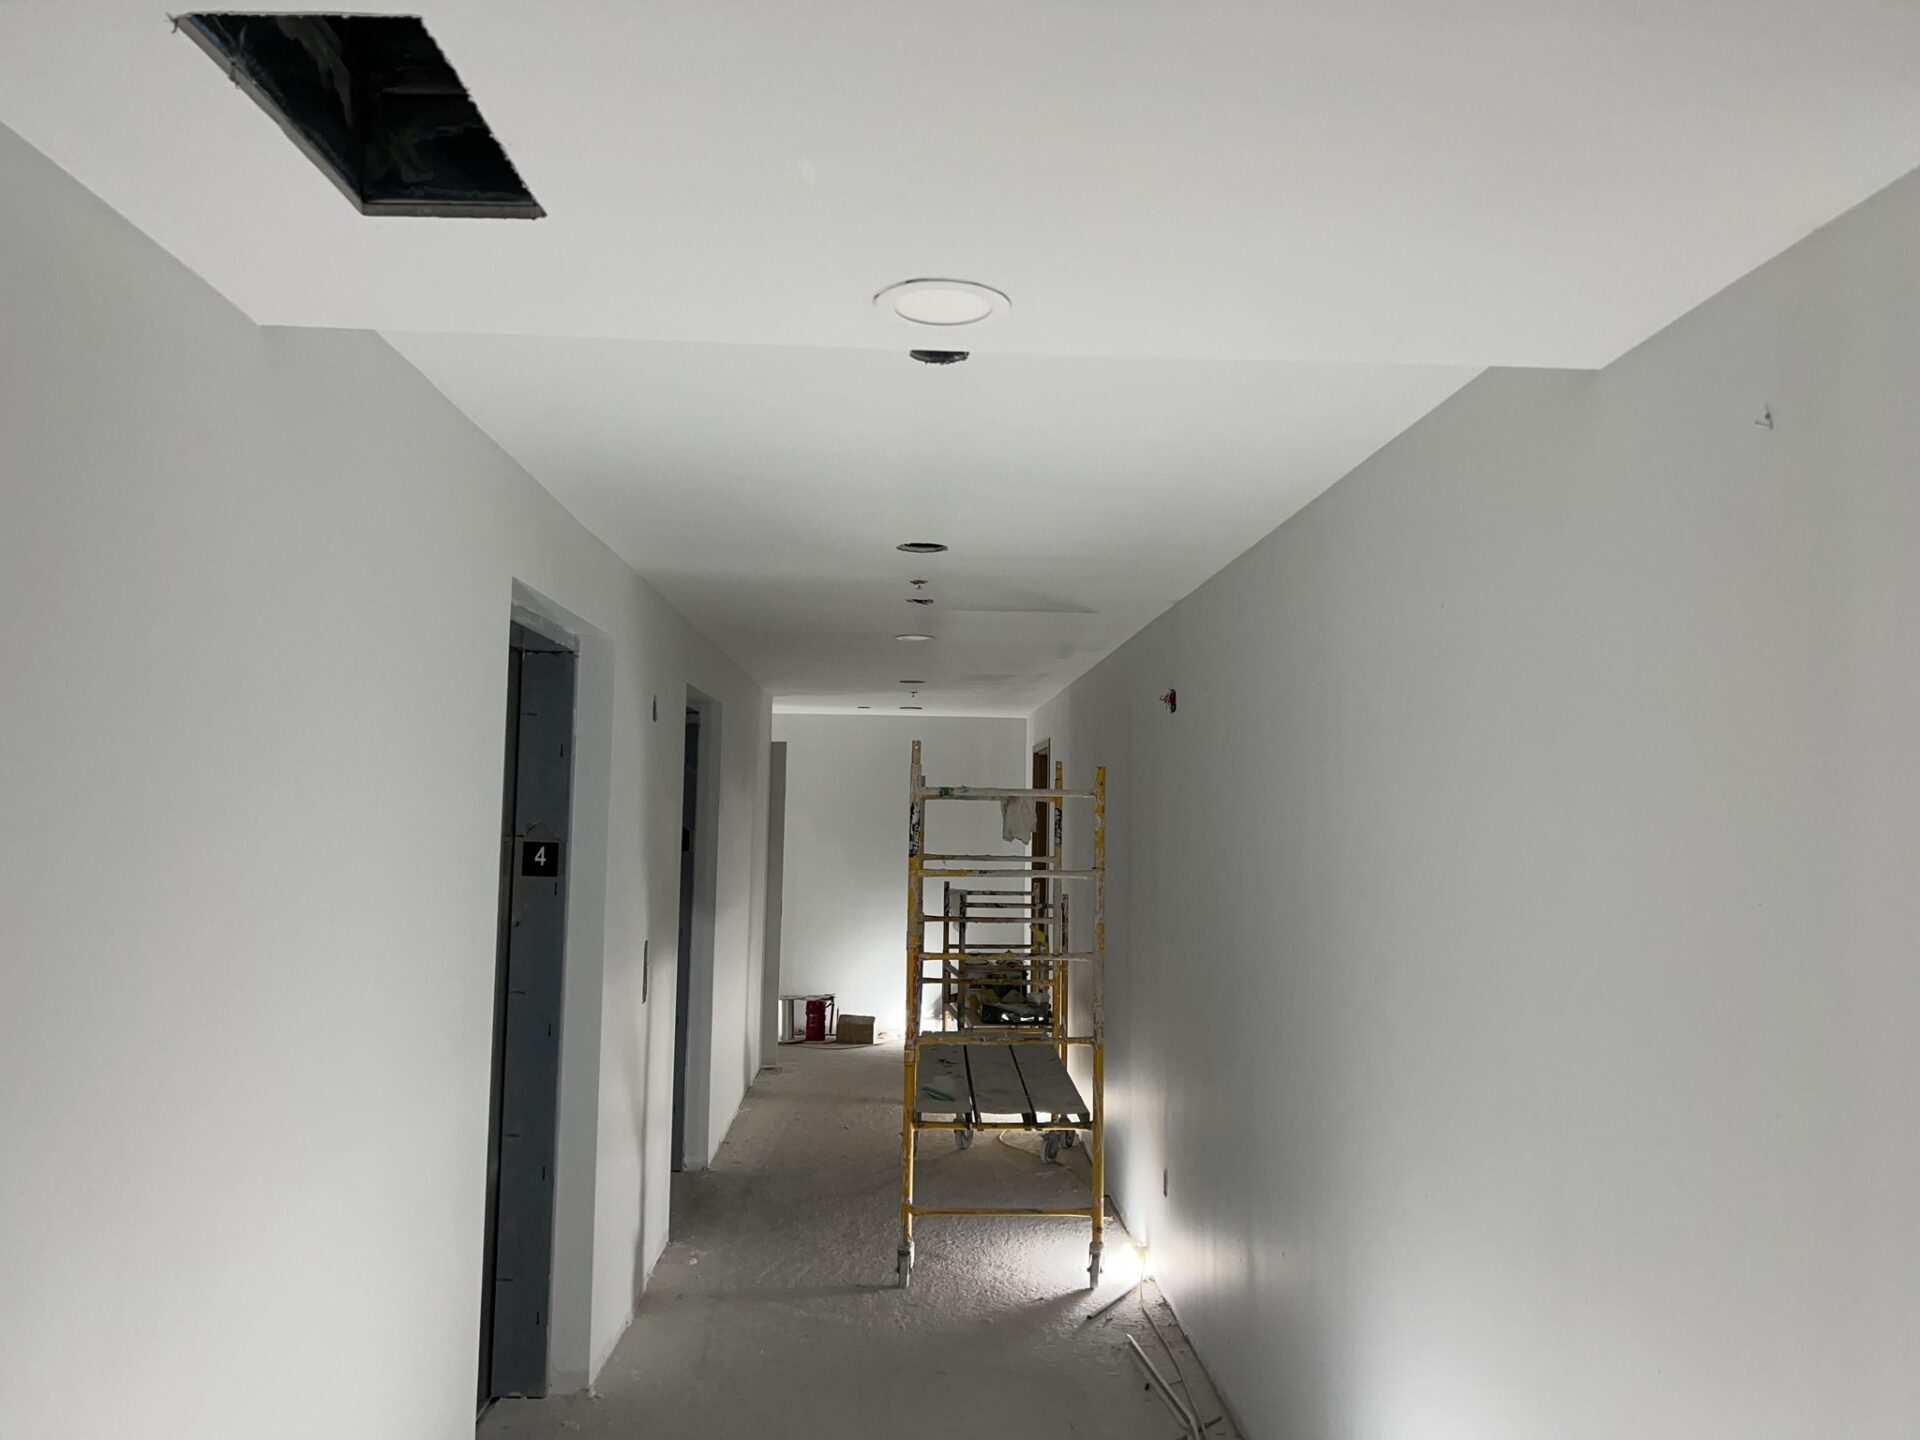
It is important to understand the fundamentals of drywall finishing before delving into its practical applications. Drywall finishing involves concealing joints, screw indentations, and imperfections in the drywall surface to create a seamless look. It is important to do proper preparations, which include clearing the workspace, setting up the supplies and tools, and making sure there is enough lighting and ventilation. Proper preparation ensures that the finishing process goes smoothly and results in a professional-quality appearance. Additionally, understanding factors such as the Victoria climate impact on drywall is crucial, as fluctuations in humidity and temperature can affect the drying times of joint compound and the overall stability of the drywall. Taking these conditions into account helps prevent issues such as cracking or uneven finishes, ensuring a long-lasting result.
Setting up your workspace
The first step to flawless drywall finishing is setting up an atmosphere that supports high-quality work. Remove any clutter and obstructions to make room for you to move about. To minimize disruptions during the procedure, arrange your tools and materials in an easily accessible manner. Furthermore, adequate lighting and ventilation are essential for obtaining accuracy and precision in your task. This ensures you can focus entirely on achieving smooth and seamless results without being hindered by unnecessary distractions. For those seeking drywall installation tips for beginners, remember to take your time and thoroughly inspect the surface for any imperfections or unevenness before starting. Preparing your workspace effectively lays the foundation for a professional-looking finish. Proper preparation not only saves time but also prevents costly mistakes down the line. By organizing your workspace and ensuring all necessary tools are at hand, you’ll find the process of drywall installation made easy and more efficient. A clean, well-lit, and ventilated environment allows you to concentrate on the finer details, ultimately leading to a polished and professional result. With the right drywall installation tips and techniques, even challenging aspects of the process can be tackled confidently and effectively. Take the time to practice proper sanding and mud application methods to ensure a seamless finish that blends perfectly with the surrounding surface. By prioritizing preparation and honing your skills, you’ll set yourself up for success and achieve results that are both durable and visually appealing. Additionally, maintaining a steady pace and avoiding rushing through the steps is crucial for achieving a flawless finish. Patience and attention to detail will help you address minor flaws before they become bigger issues. By incorporating these drywall installation tips for beginners, you’ll not only improve your skills but also ensure a durable and visually appealing result that meets professional standards.
Applying the First Coat: Laying the Groundwork for Perfection
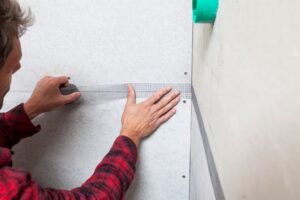
Now that the workspace is ready, it is time to fill in the screw indentations and drywall seams with the first layer of joint compound, commonly referred to as mud. Apply a thin coating of compound to the joints with a taping knife to make sure they are completely covered. Next, insert the drywall tape into the compound, making sure to smooth out any creases or air bubbles along the way. This first coat fills in voids and provides a strong base for a flawless finish, laying the groundwork for later applications.
Refining the Surface: Application of the Second Coat
It is time to apply the second coat of joint compound after the first coat has dried. Using the foundation set by the previous coat, this thicker layer fills in more voids and defects. Apply the compound with a bigger taping knife in even, clean strokes, making sure the edges are feathered to match the surrounding drywall. At this stage, accuracy and focus on details are necessary to produce a smooth, even surface devoid of ridges or lumps.
Smoothing Out Imperfections: Sanding Techniques for Drywall Finishing
To get a uniform, smooth finish, sand the surface after the second coat has dried. To begin, remove any high spots, lumps, or extra compounds with coarse sandpaper. To smooth out the surface even further, progressively move on to sandpaper with finer grit. Since over-sanding can cause uneven spots or damage to the drywall, this technique calls for dexterity and patience. To guarantee a perfect finish, take your time and check the surface often.
Completing Including Final Details: Refinement of Corners and Edges
Now that the main surface has been smoothed, the drywall’s corners and edges need to be properly finished. To provide outer corners more resilience and a clean, precise finish, install corner beads. Apply joint compound along the borders with a taping knife and smooth it down to match the surrounding surface. This stage requires careful attention to detail because finished walls look more professional overall when their edges and corners are defined.
Overcoming Common Challenges in Drywall Finishing
Even with careful attention to detail, challenges may arise during the drywall finishing. From air bubbles in the compound to uneven sanding or adhesion issues, it is important to know how to troubleshoot and address these issues effectively. Keep a supply of extra joint compound and drywall tape on hand for quick repairs, and do not hesitate to seek advice or guidance if you encounter difficulties beyond your expertise. A well-lit workspace can also make a significant difference when troubleshooting drywall finishing problems, as it allows you to spot imperfections more easily. Additionally, patience and persistence are key—rushing through the finishing process can lead to more mistakes and costly rework later on. Remember, a smooth and seamless finish is achievable with the right techniques and tools at your disposal. Proper lighting can also make a significant difference during the finishing process, as it helps to spot imperfections that might otherwise go unnoticed. Taking the time to address these flaws ensures a smoother, more professional result while highlighting the importance of proper drywall repair in maintaining the aesthetic and structural integrity of the surface. Remember that patience and thoroughness are key to achieving a flawless finish. To further ensure success, it’s helpful to periodically step back and assess your progress from different angles, as this can reveal imperfections that might not be visible up close. By dedicating time and effort to each stage of the process, you can achieve a professional-grade outcome that enhances both the appearance and durability of your walls. Ultimately, investing in proper drywall repair for home value not only improves the look of your living space but also supports the long-term stability and appeal of your property. Consistently implementing effective drywall maintenance tips can help prevent common problems from occurring in the first place, saving both time and effort in the long run. Regularly inspecting your drywall for cracks, dents, or other imperfections allows for timely repairs, minimizing the risk of more significant damage. By staying proactive and prioritizing quality over speed, you can ensure that your drywall remains in excellent condition for years to come.
Advanced Techniques for Professional Results
There exist a few sophisticated methods that are worthwhile to investigate for individuals seeking to enhance their abilities in drywall finishing. These could include texturing techniques to give the finished walls more visual interest, such orange peel or knockdown. Furthermore, experimenting with various joint compounds or tool types can produce interesting outcomes and improve the space’s overall aesthetic appeal. Additionally, incorporating elements like accent walls or artistic patterns can transform a standard surface into a standout feature within a room. Exploring creative drywall ideas for homes, such as integrating recessed niches or built-in shelving, can add both functionality and design flair. With careful planning and attention to detail, these techniques can elevate any living space into something truly unique and visually appealing. In addition, understanding the advantages of drywall texture types can help homeowners or professionals select the right finish to complement the style of a room, ranging from subtle to bold. For instance, smoother textures may suit modern or minimalist designs, while heavier textures can contribute to a cozier, rustic ambiance. Practicing these methods and experimenting with different textures can lead to unique and stunning results that elevate the quality of any interior project. By exploring different types of drywall textures, individuals can tailor the finished look to suit their personal taste or align with a specific interior design theme. From the bold statements of a popcorn texture to the understated elegance of a smooth finish, the variety of options available ensures there’s something for every preference. Ultimately, mastering these techniques not only enhances the functionality and beauty of a space but also showcases a distinctive level of craftsmanship and creativity.
Professional Advice for Successful Drywall Finishing
It is imperative to approach the procedure with care, attention to detail, and a commitment to quality if you want drywall finishes that are genuinely faultless. To obtain a smooth, consistent finish, take your time in thoroughly preparing the surface, carefully applying each coat of compound, and sanding everything down. Above all, take your time and do not rush the process. If you need help, do not be hesitant to ask experts from Drywall Medic. It is quite hard to hang drywall which is the reason you need professional help. Contact details for Drywall Medic is as follows:
Victoria, BC: #136 – 2936 Amy Rd, Victoria, BC, V9B 0B2, Contact Number- 250-880-8849,
Vancouver, BC: 6894 192 St, Surrey, BC V4N 0B7, Contact Number- 604-913-4656