Matching the texture can be tricky. Start by carefully assessing the existing texture and properly preparing the surface. Choosing the right technique and tools is key to blending seamlessly. If you’re not sure where to begin, understanding the steps can make a huge difference. Let’s break it down so you can get a professional-looking finish.
Key Takeaways
- Carefully assess the existing texture note its pattern and finish.
- Choose the right technique like spray or knockdown to match the original.
- Apply texture consistently, testing on a scrap piece first.
- Allow enough drying time before painting or finishing.
- Use color theory to match paint and test it on a small area first.
Assessing the Existing Texture
Before you start any repairs, take a good look at the wall texture around the damaged area.
Use a flashlight to highlight subtle patterns and see how the light hits the surface. Pay attention to the thickness, pattern, and finish. Taking a photo can help you later.
Why does this matter? Because knowing what you’re working with helps you choose the right materials and match it correctly.
Choosing the Right Texture Technique
Matching drywall texture isn’t one-size-fits-all. You’ll want to understand common techniques and pick one that fits the look of your walls.
Popular Texture Techniques
- Spray Texture: Good for large areas, gives a bumpy finish. Can be harder to control.
- Knockdown Texture: Spray first, then flatten with a drywall knife. Easier to control and more subtle.
Think about how your current wall looks and choose the method that’s closest.
Matching Existing Textures
Figure out what type of texture is already there—knockdown, slap brush, orange peel, or smooth. For smooth finishes, sanding may be enough. For textured ones, you might need spray or brush-on methods.
Try practicing on scrap drywall before you work on the wall itself.
Tools and Materials Needed
You’ll need:
- Texture sprayer or roller
- Hawk and trowel (for manual styles)
- Texture compound
- Primer
Having the right tools makes matching the texture easier and the finish more professional.
Gathering Tools and Materials
Before starting, gather everything:
- Texture sprayer or roller
- Putty knife and sanding block
- Primer
- Drop cloth and dust mask
- Joint compound or texture mix
- Water for mixing (if needed)
Having it all ready means fewer interruptions and better results.
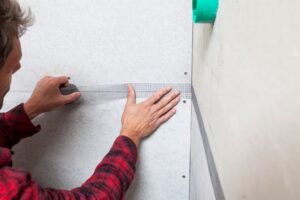
Preparing the Surface for Repair
A clean, smooth surface helps the texture stick and blend.
- Clean the area to remove dirt and dust.
- Trim frayed drywall edges with a utility knife.
- Fill holes or dents with joint compound.
- Once dry, sand it down until smooth.
- Feather the edges to blend it into the wall.
- Wipe with a damp cloth to remove dust.
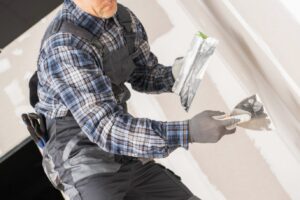
Applying Texture to the Repaired Area
Now the fun part: texturing.
- Spray Method: Shake the can well. Hold it 12 inches away and spray in steady motions. Test on scrap first.
- Roller Method: Use a thick-nap roller, dip in compound, and roll on evenly.
Let it dry completely before doing anything else.
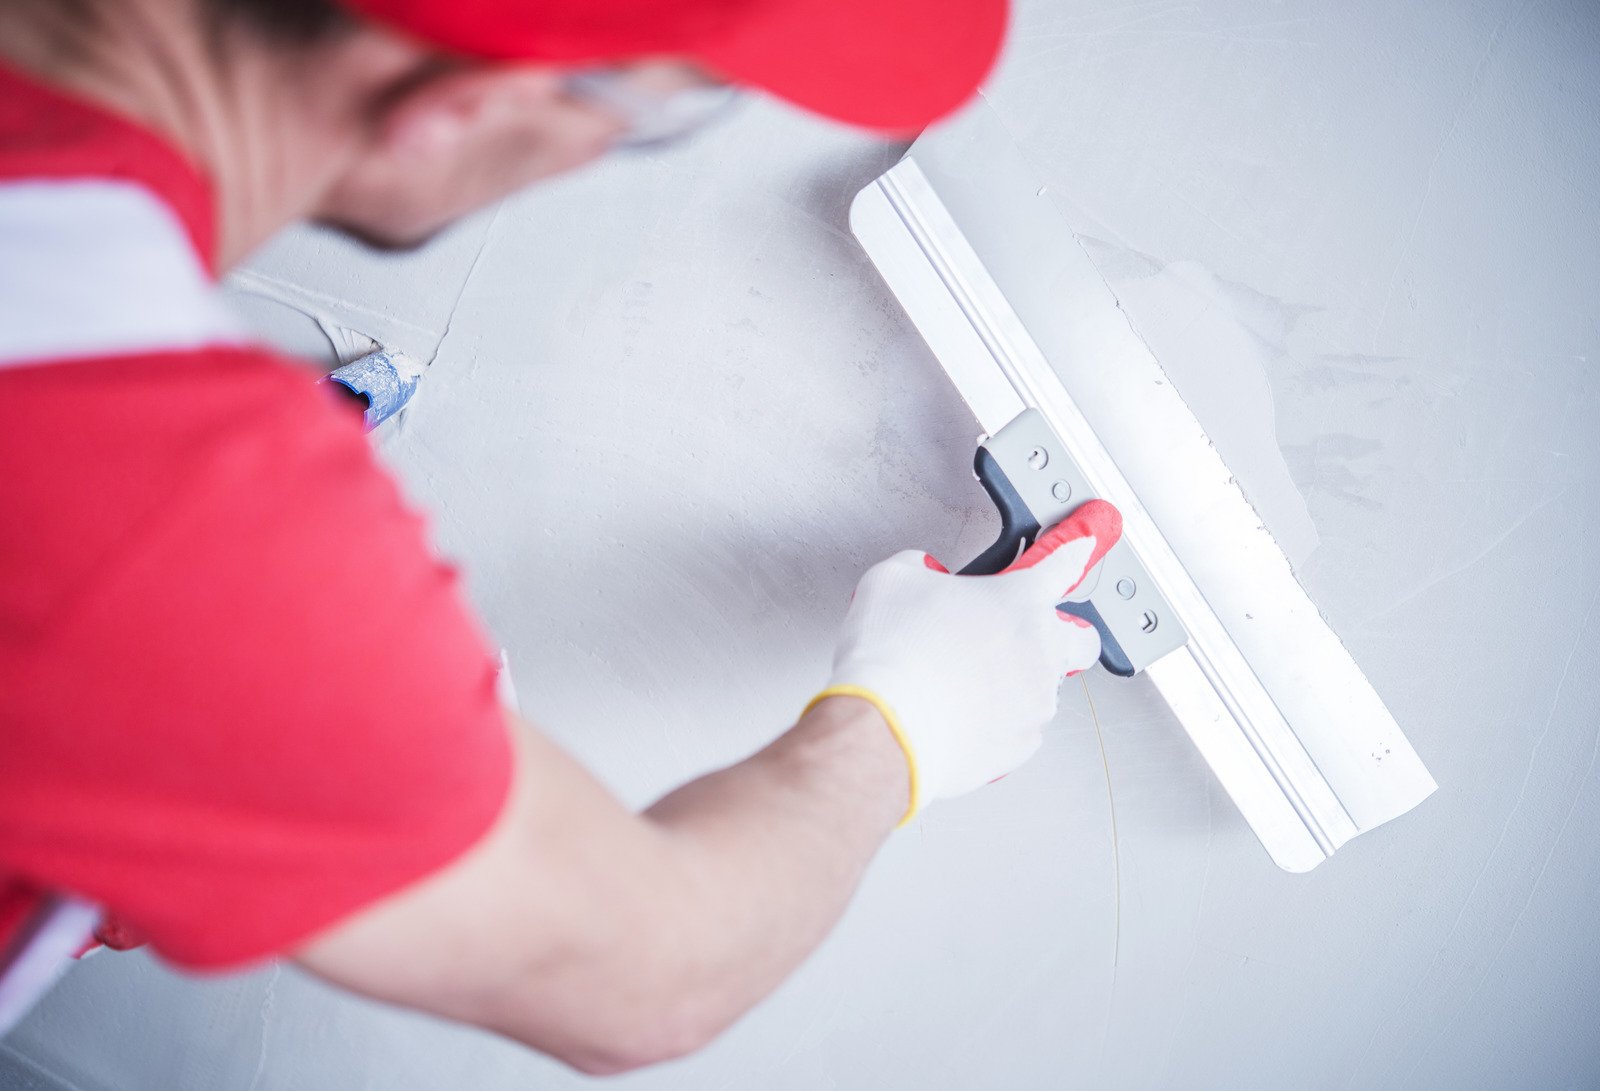
Blending Techniques for Seamless Integration
Getting it to blend perfectly means using the right techniques and tools.
Texture Matching Methods
Use the same texture method as your original wall. Try feathering the edges and layering slowly until it looks just right.
Let it dry fully before priming or painting. A light touch goes a long way.
Tools for Blending Techniques
Helpful tools:
- Adjustable texture sprayer
- Blending brushes for feathering
- Rollers with specific nap length
- Spray shield to protect nearby areas
These make it easier to get a smooth, natural blend.
Matching Paint Color and Finish
To make your repair invisible, your paint has to match.
- Use a color wheel to help mix the right shades.
- Bring a sample to the store for a match.
- Match the finish too (matte, satin, gloss, etc.).
- Test on a small spot before painting everything.
Allowing for Drying and Curing Time
Patience is key here.
Importance of Drying Time
Don’t rush! Wet compound can cause bubbles or peeling. Use fans or a dehumidifier to help it dry evenly. Different materials need different times, so follow the product instructions.
Curing Process Explained
Let it cure for 24–48 hours. Ideal conditions:
- Temp: 65°F to 85°F
- Humidity: 30%–50%
- Avoid direct sunlight or drafts
Once cured, your texture will look cleaner and last longer.
Performing Final Touch-Ups
After drying, inspect your work.
Look for uneven spots or edges that stand out. Use a small brush or spray to touch up any flaws. Let these dry fully too.
This careful step helps your repair look like it was never needed.
Preventing Future Texture Mismatches
Keep your walls looking great by:
- Using the same type of drywall and joint compound
- Matching your application method (spray, roller, brush)
- Letting everything dry fully before painting
- Doing regular wall checks for early signs of wear
Frequently Asked Questions
Can I Use Spray Texture for All Drywall Repairs?
Yes, but be sure to prep the surface and follow good technique.
How Long Should I Wait Before Painting Over Repaired Texture?
Wait at least 24 hours so the compound is fully dry and adheres well.
What if the Texture Still Doesn’t Match After Multiple Attempts?
Try different tools or techniques—feathering or layering often helps.
Are There Specific Tools for Different Texture Types?
Yes! Sprayers for sprays, rollers for knockdown, and so on. Choose based on the wall’s original finish.
Can Humidity Affect the Texture Application Process?
Definitely. High humidity can cause uneven drying and bad results. Aim for moderate humidity before starting.
Conclusion
By following these steps, you’ll be able to fix texture mismatches like a pro. Carefully assess the wall, choose the right method, prep well, and be patient. When done right, your repair will blend perfectly, keeping your wall looking as good as new. Use this guide any time you take on a drywall repair!