Once well-liked for their texturing and sound-dampening properties, popcorn ceilings are now less common among Vancouver residents looking for a more contemporary look. Although removing these textured ceilings has grown in popularity as a home renovation undertaking, structural movement, subpar finishing methods, and environmental variables like temperature and humidity changes can all cause ceiling fractures. After popcorn ceiling removal in Vancouver homes, it is imperative to take preventative measures to avoid ceiling cracks and guarantee a smooth, durable ceiling surface.
Understand Why Ceiling Cracks Occur After Popcorn Ceiling Removal
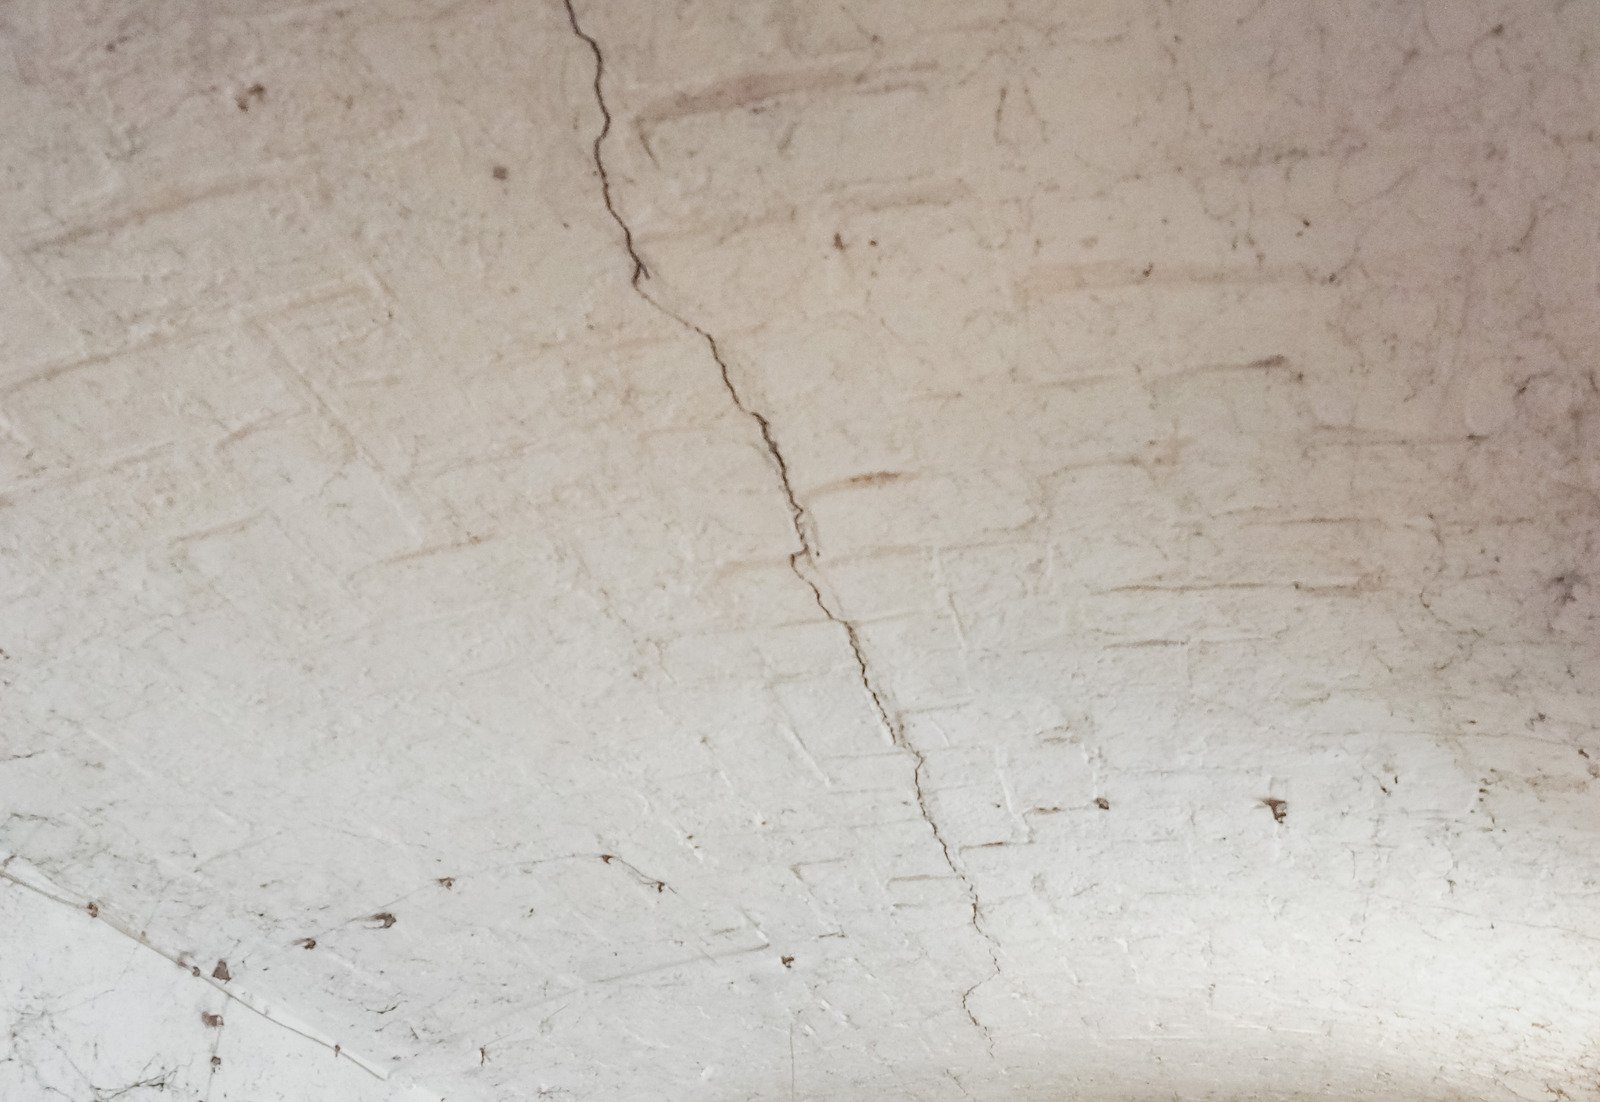
Ceiling cracks can occur due to structural movement, weak or damaged drywall joints, improper finishing after removal, temperature and humidity changes, and improper installation of ceiling fixtures. Vancouver homes experience natural settling over time, which can cause minor shifts in the foundation and framework, leading to ceiling cracks.
Popcorn ceilings were often applied over poorly finished drywall seams, and improper finishing can cause drywall to expand and contract, leading to stress cracks. Understanding these causes allows homeowners to take preventive steps before and after popcorn ceiling removal.
Strengthen the Drywall Joints and Seams
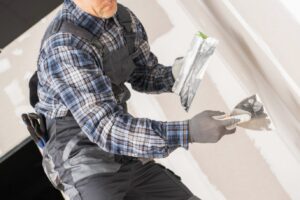
After removing popcorn ceilings, it is crucial to strengthen the drywall joints and seams to prevent future cracking. To do this, use self-adhesive fiberglass mesh tape over weak seams, use a high-quality joint compound for better adhesion and flexibility, and apply multiple thin coats of joint compound.
Professional drywall finishers use a level 5 finish, which involves a skim coat over the entire ceiling, to create a flawless, crack-resistant surface. This will help prevent future cracking and ensure a secure and functional ceiling.
Ensure Proper Ceiling Support and Reinforcement
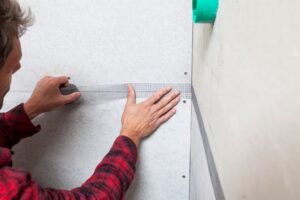
To ensure proper ceiling support and reinforcement, check for loose drywall panels and secure them with drywall screws into the ceiling joists. If large areas show signs of weakness, install a thin plywood backer board for extra support.
Apply construction adhesive to the joists before securing the drywall with screws to minimize movement. If the ceiling has extensive damage or was previously covered with heavy popcorn texture, consider installing new drywall panels for a fresh, even surface.
Control Humidity and Temperature Fluctuations
Vancouver’s climate can cause drywall to expand and contract, leading to ceiling cracks. Proper humidity control is essential to prevent this issue. To maintain a stable indoor climate, use a dehumidifier during rainy seasons, improve home ventilation with exhaust fans, seal windows and doors with proper insulation, and maintain consistent indoor temperatures.
Keep humidity levels between 30% and 50% to prevent ceiling cracks. Avoid setting thermostats too high or too low, as extreme temperature differences can stress ceiling materials.
Use the Right Painting and Finishing Techniques
To ensure ceiling durability and minimize cracking, use the right paint and finish techniques after popcorn removal. Apply a high-quality primer first to seal the drywall and create a stable base for paint.
Choose flexible ceiling paint that can withstand minor movements without cracking. Opt for matte or flat finishes to highlight imperfections and feather paint layers for a smooth finish. For a textured look, consider using a light knockdown texture or orange peel finish to conceal minor imperfections.
Avoid Overloading the Ceiling with Fixtures
To prevent ceiling cracks, avoid overloading fixtures with heavy ones. Install fixtures properly, ensuring they are mounted to ceiling joists or supported by a ceiling brace. Use lightweight fixtures when possible, and minimize unnecessary drilling or cutting to maintain drywall integrity. Consult an electrician or contractor for safe and proper installation after popcorn removal. This will help prevent stress on the ceiling and prevent drywall damage.
Regular Maintenance and Inspection
Regular ceiling inspections are crucial for catching small cracks before they escalate into larger issues. Look for hairline cracks, sagging drywall, and signs of moisture damage. Patch them with joint compounds before they spread. Perform an annual ceiling inspection, especially before Vancouver’s rainy season, to maintain top condition and prevent leaks.
Choosing the Right Contractor:
If you decide to hire a professional for popcorn ceiling removal in Vancouver, be sure to choose a reputable company with a proven track record. Ask for references and check online reviews to get an idea of their work quality and customer service. Discuss the potential for cracking with the contractor and ask about their methods for minimizing this risk.
Final Thoughts
Removing a popcorn ceiling can significantly improve the aesthetics of a home, but without proper precautions, it can lead to ceiling cracks and structural issues. By reinforcing drywall seams, maintaining stable indoor conditions, using proper finishing techniques, and avoiding excessive weight on the ceiling, homeowners can prevent cracks and ensure a smooth, durable ceiling that enhances the overall appearance of their space.
For best results, consider hiring a professional drywall contractor to ensure a flawless finish and long-term durability after popcorn ceiling removal. If you are in Vancouver and need expert help with ceiling repairs, finishing, or painting, contact Drywall Medic today for a consultation. We specialize in crack-resistant ceiling solutions and high-quality craftsmanship to give your home the perfect modern look. Here you go for the details: