When you’ve got a large hole in your drywall, patching it the right way is key to avoiding lumps and cracks later on. Start by checking the damage and gathering the right tools and materials. It’s important to prep the area properly before installing a patch. Each step matters when it comes to getting a smooth, clean finish. Let’s break down the techniques that will help your repair look great and last long.
Key Takeaways
-
Measure and cut the drywall patch to fit the hole tightly, without gaps.
-
Use a backing board for support if the hole is large. Secure it with screws.
-
Apply joint compound in thin, even layers. Feather the edges to blend it in.
-
Use the right type of drywall tape and make sure it sticks well.
-
Sand each dried layer smoothly for a flawless finish without lumps or cracks.
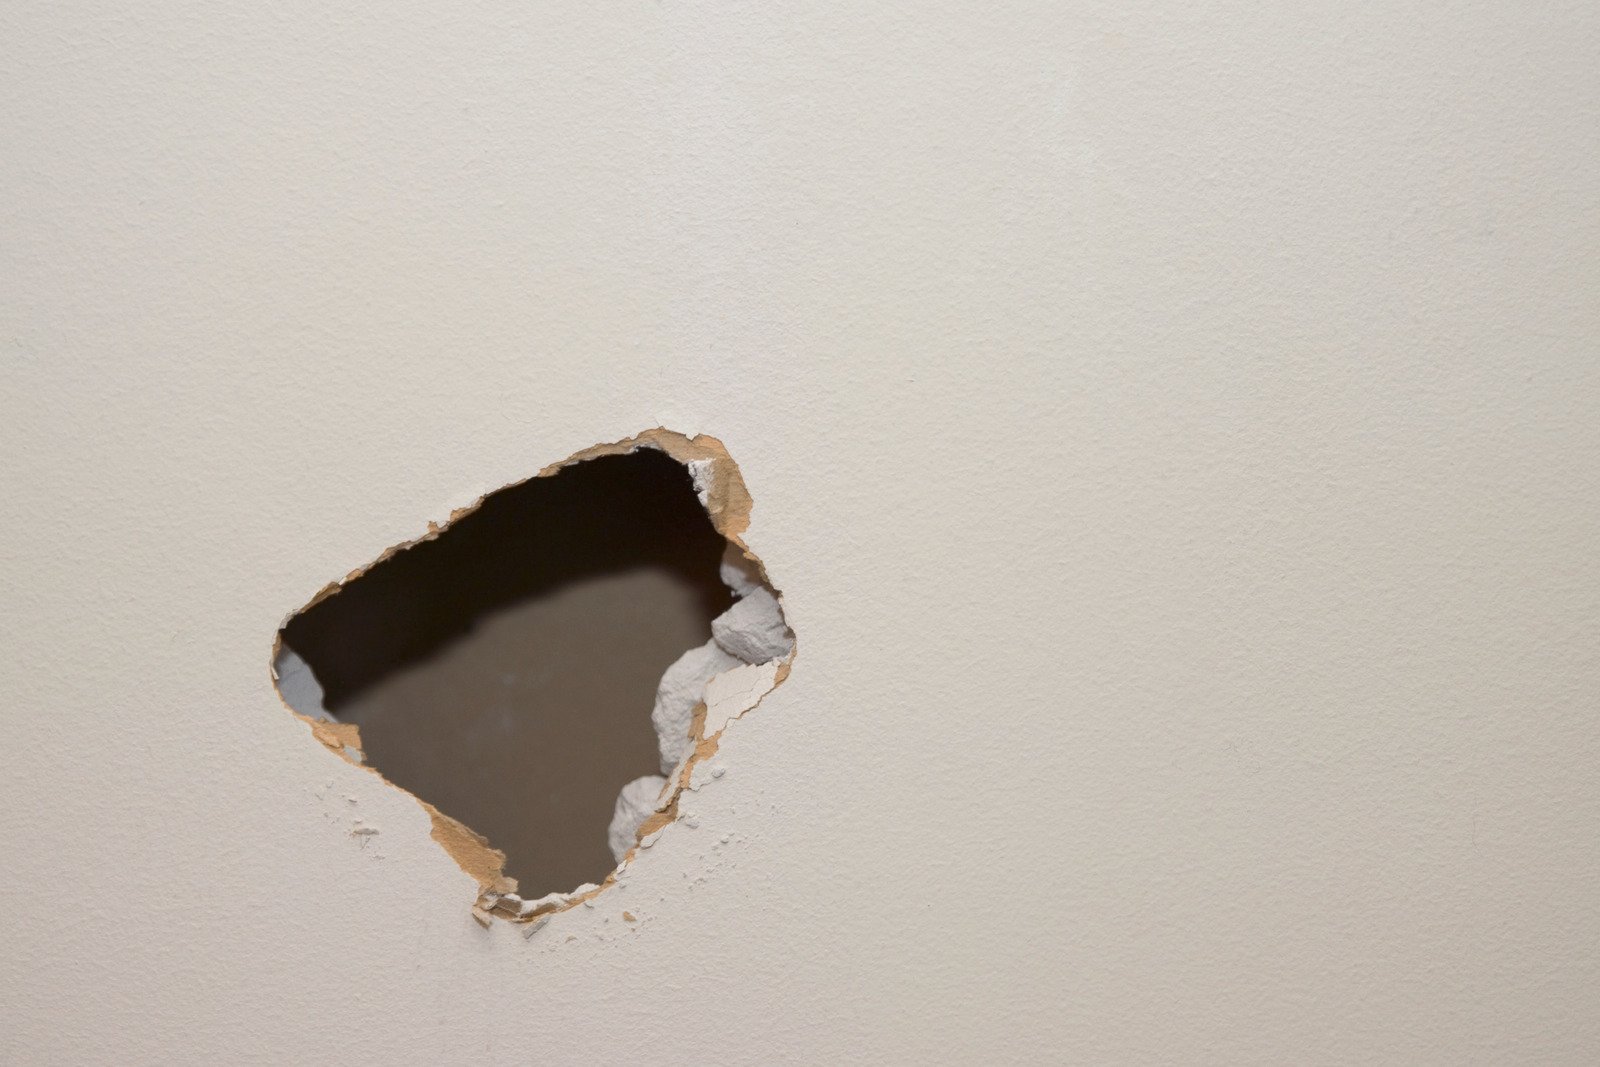
Assessing the Damage: How Big Is the Hole?
Before you jump into repairs, take time to evaluate the damage.
First, figure out what kind of hole you’re dealing with—small, medium, or large. Each type needs a slightly different approach. Use a measuring tape to check the hole’s size, and look closely at the area around it. Are there cracks or water stains nearby?
This helps you decide whether a simple patch is enough or if you need to replace part of the drywall. Also, check for signs of mold or bigger structural problems that might need a pro’s help.
Gathering the Right Materials
Having the correct tools and supplies will make your repair easier and more effective.
Tools You’ll Need
To fix large holes in drywall, you’ll need a few essential tools:
-
A utility knife for clean edges
-
A drywall saw for larger or tougher cuts
-
A drywall square and tape measure for accurate sizing
-
A putty knife for applying the joint compound
-
Sandpaper or a sanding block to smooth things out
-
A paintbrush or roller for touch-ups
Keep your tools organized and nearby for a smoother workflow.
Repair Materials to Have on Hand
Start with a lightweight joint compound—it’s easier to sand and gives a nice finish.
Next, grab some mesh drywall tape to reinforce the repair and stop cracks from coming back.
You’ll also need:
-
A utility knife
-
A putty knife
-
Sandpaper
-
Possibly a drywall repair kit if the hole is very large
With the right materials, you’ll be set for a professional-looking patch.
Preparing the Area: Cleaning and Cutting
Before you begin, get the area ready so nothing gets in your way.
Step 1: Clear the Work Area
Move any furniture out of the way. If that’s not possible, cover it with drop cloths to protect from dust. Make sure your tools are easy to reach and that you’re wearing safety goggles and a dust mask.
Also, look for nearby electrical outlets or plumbing to avoid damaging them.
Step 2: Measure and Mark
Use a tape measure to get the hole’s dimensions. Mark your cut lines clearly with a pencil or chalk. If the hole is uneven, sketch the outline directly on the wall.
Careful measuring now saves you time later.
Step 3: Use the Right Tools
Use a utility knife for small cuts and a drywall saw for bigger holes. A straightedge or T-square helps you keep your cuts clean. Make sure your tools are sharp and in good shape to avoid messy edges.
Installing the Patch: A Snug Fit Matters
Now it’s time to patch the hole. Make sure your piece of drywall fits tightly into the space. Trim rough edges if needed.
For large holes, use a backing board (like plywood) behind the patch. This gives support and helps the patch stay in place. Apply adhesive around the patch edges and press it in firmly. Then, use screws or nails every six inches to secure it, making sure they go into the studs.
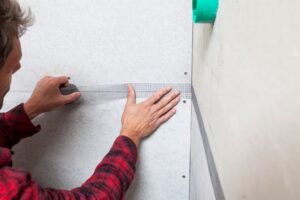
Taping and Mudding: Blending It All In
This step helps make your patch invisible.
Use mesh or paper tape, depending on what you prefer. Paper tape gives stronger joints, while mesh is easier to use.
Next, apply joint compound in thin layers over the tape. Feather the edges so they blend into the wall. Let each coat dry completely before adding another. Don’t rush this step—dry time matters for a smooth finish.
Sanding and Painting: The Final Touch
Once your compound is dry, it’s time to sand. Start with a rougher grit to level things out, then use a finer grit for a smooth finish. Always sand in circles and wear a mask to protect from dust.
Choose a paint that matches your wall. For best results, use a primer first, especially if the patch is big. Then roll on your paint for a clean, even look.
Frequently Asked Questions
How long does the patch take to dry?
It depends on how thick the patch is. Thin layers can dry in 1–2 hours. Thicker ones may take up to 24 hours or more. Always wait until it’s fully dry before sanding.
Can I use spackle instead of joint compound?
You can, but joint compound is better for larger holes. It sticks better and gives a smoother finish.
What tools do I really need?
You’ll need a putty knife, sanding block, utility knife, tape measure, and something to cut the drywall. These are key for good results.
How do I stop holes from happening again?
Add corner guards or wall protectors in busy areas. Keep an eye out for damage and fix it quickly so it doesn’t get worse.
Do I need to use primer before painting?
Yes. Primer helps paint stick and gives a more even finish. It also hides the patched area better.
Conclusion
By following these simple steps, you can fix large holes in your drywall like a pro. Always assess the damage first, gather the right tools and materials, and prep the space well. Take your time with taping, mudding, and sanding, and don’t skip priming before you paint.
With a little care and patience, your walls will look smooth and seamless again—like the hole was never there.