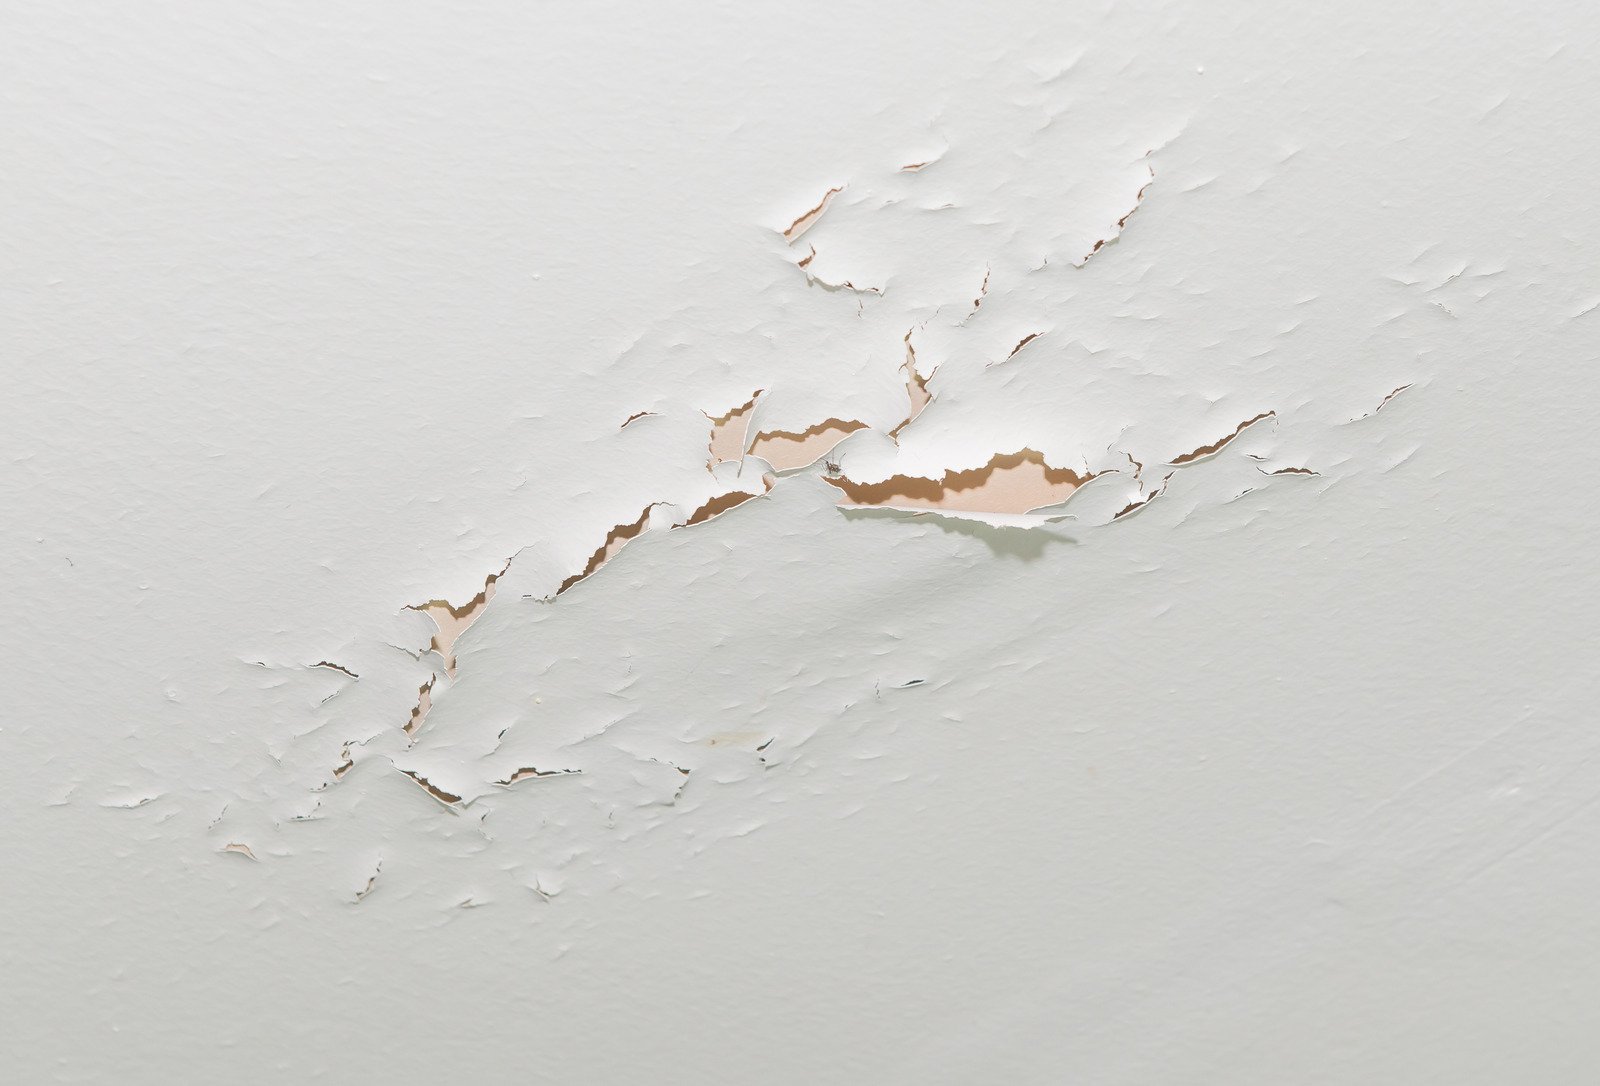
If you’ve noticed cracks in your ceiling paint, you’re not alone. This is a common problem, and it usually means there’s something else going on—like poor prep work or changes in the environment. Knowing what causes these cracks is the first step to fixing them properly. When you understand the “why,” it’s easier to prevent the issue from coming back.
So, what should you do to keep your ceiling smooth and crack-free? Let’s break down the key things that lead to cracking—and what you can do about them.
Key Takeaways
-
Clean and prime your ceiling before painting so the paint sticks well and doesn’t crack.
-
Use high-quality ceiling paint and primer for long-lasting results.
-
Keep humidity under control with fans or dehumidifiers to stop moisture from damaging the paint.
-
Check regularly for leaks or water damage to catch issues early.
-
Fix any cracks as soon as they appear. Use flexible filler and mesh tape for bigger cracks.
Common Causes of Ceiling Paint Cracking
Cracks in ceiling paint often happen because something underneath is wrong. One big reason is poor paint adhesion—meaning the paint didn’t stick well. This can happen if the ceiling wasn’t cleaned properly before painting. Dirt, grease, and moisture can all keep paint from bonding to the surface.
Another major factor is temperature change. When your ceiling materials expand and contract due to hot or cold weather, cracks can form. That’s why it’s important to use quality primer and paint and apply them in the right conditions.
Also, keep an eye out for leaks or moisture problems. Catching these early can save your ceiling from bigger damage later.
Environmental Factors That Lead to Cracks
Changes in the environment can cause cracks too. Weather and temperature shifts put stress on your ceiling. In winter, your ceiling might shrink from the cold. In summer, it expands from the heat. This back-and-forth can make the paint crack over time.
To prevent this, use paint made for all seasons and make sure your home is insulated well. Try to keep indoor temperatures steady—that helps a lot.
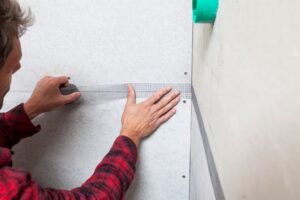
Improper Surface Preparation
It might seem like painting is just about brushing on a fresh coat, but how you prepare the surface matters a lot. If you skip prep steps, cracks can show up later.
Always clean the ceiling thoroughly before painting. Remove dust, grease, and old paint flakes. Then, patch any holes or dents and sand them smooth.
Don’t forget the primer—it helps paint stick better and covers up tiny flaws in the ceiling. Taking time to prep properly means fewer problems later.
Choosing the Right Paint for Ceilings
Using the right kind of paint is a simple way to avoid cracks. Flat or matte paint is best for most ceilings because it hides flaws and doesn’t reflect light. In humid areas like bathrooms or kitchens, a satin finish can give you extra durability.
Pick paint made especially for ceilings—this helps it stay put and resist cracking.
Application Techniques That Prevent Cracking
Even good paint can crack if it’s not applied correctly. First, prep the surface like we mentioned before.
When painting, apply a thin, even layer. Don’t make it too thick—thick paint can dry unevenly and crack. Use a roller and work in the same direction, applying steady pressure.
If you’re doing more than one coat, let the first one dry completely before adding the next.
Humidity and Moisture Issues
Too much moisture in the air is bad news for ceilings. It can make paint peel, bubble, or crack.
This is common in bathrooms and kitchens where steam builds up. To fix this, use exhaust fans, open windows when you can, and consider a dehumidifier.
Also, check for leaks or water spots. Moisture problems can lead to major paint damage if left unchecked.
Poor Ventilation
Without good airflow, moisture gets trapped in your home—and that can ruin your ceiling paint.
Make sure areas like bathrooms and kitchens have proper ventilation. Use fans or open windows regularly. Keep your HVAC system running well and make sure vents aren’t blocked.
A hygrometer (a tool that measures humidity) can help you stay on top of moisture levels.
Temperature Fluctuations and Their Impact
When the temperature goes up or down, ceiling materials expand and shrink. This puts stress on the paint and causes cracks.
You can reduce this problem by keeping your home at a steady temperature. Use insulation and consider flexible paint that can handle movement.
Humidity control also helps, since dampness can make the problem worse.
Structural Issues That Lead to Cracking
Sometimes, cracks in the ceiling aren’t just about paint—they could be a sign of a bigger issue, like a structural problem.
If your house shifts due to a moving foundation, it can cause cracks where the walls meet the ceiling or in seams. This type of damage usually needs more than just paint.
If you notice serious or growing cracks, it’s best to call a professional to check your home’s structure.
Fixing Cracks and Preventing More Damage
Cracks don’t have to be scary. Fixing them right away can stop bigger problems.
Start by checking how bad the crack is. For small cracks, use a flexible crack filler and a putty knife. Once it’s dry, sand it smooth and paint over it.
For bigger cracks, apply mesh tape first, then the filler. This gives more support and helps stop the crack from coming back.
Use paint that can stretch a little—it’s better at handling movement in the ceiling. And don’t forget to keep tabs on moisture and temperature changes to avoid new cracks.
Frequently Asked Questions
Can I paint over cracked ceiling paint without fixing it first?
No—if you don’t fix the cracks, the new paint will likely crack too. Always repair the surface first.
How often should I repaint my ceiling?
Every 5 to 7 years is a good rule. If you see stains or cracks, repaint sooner.
Are there paints made for high-humidity areas?
Yes, some paints are made for bathrooms and kitchens. They resist moisture and mold, helping your ceiling stay in better shape.
What tools do I need to paint a ceiling?
You’ll need a ladder, drop cloths, tape, rollers, brushes, primer, and good ceiling paint.
How do I know if ceiling cracks are from a structural issue?
If the cracks are wide, getting longer, or appear near joints and corners, they might be structural. A pro can tell you for sure.
Conclusion
To keep your ceiling looking smooth and crack-free, always start with good prep and use quality paint. Keep an eye on humidity, fix small issues early, and paint with care. These simple steps go a long way in preventing cracks and keeping your home looking great.