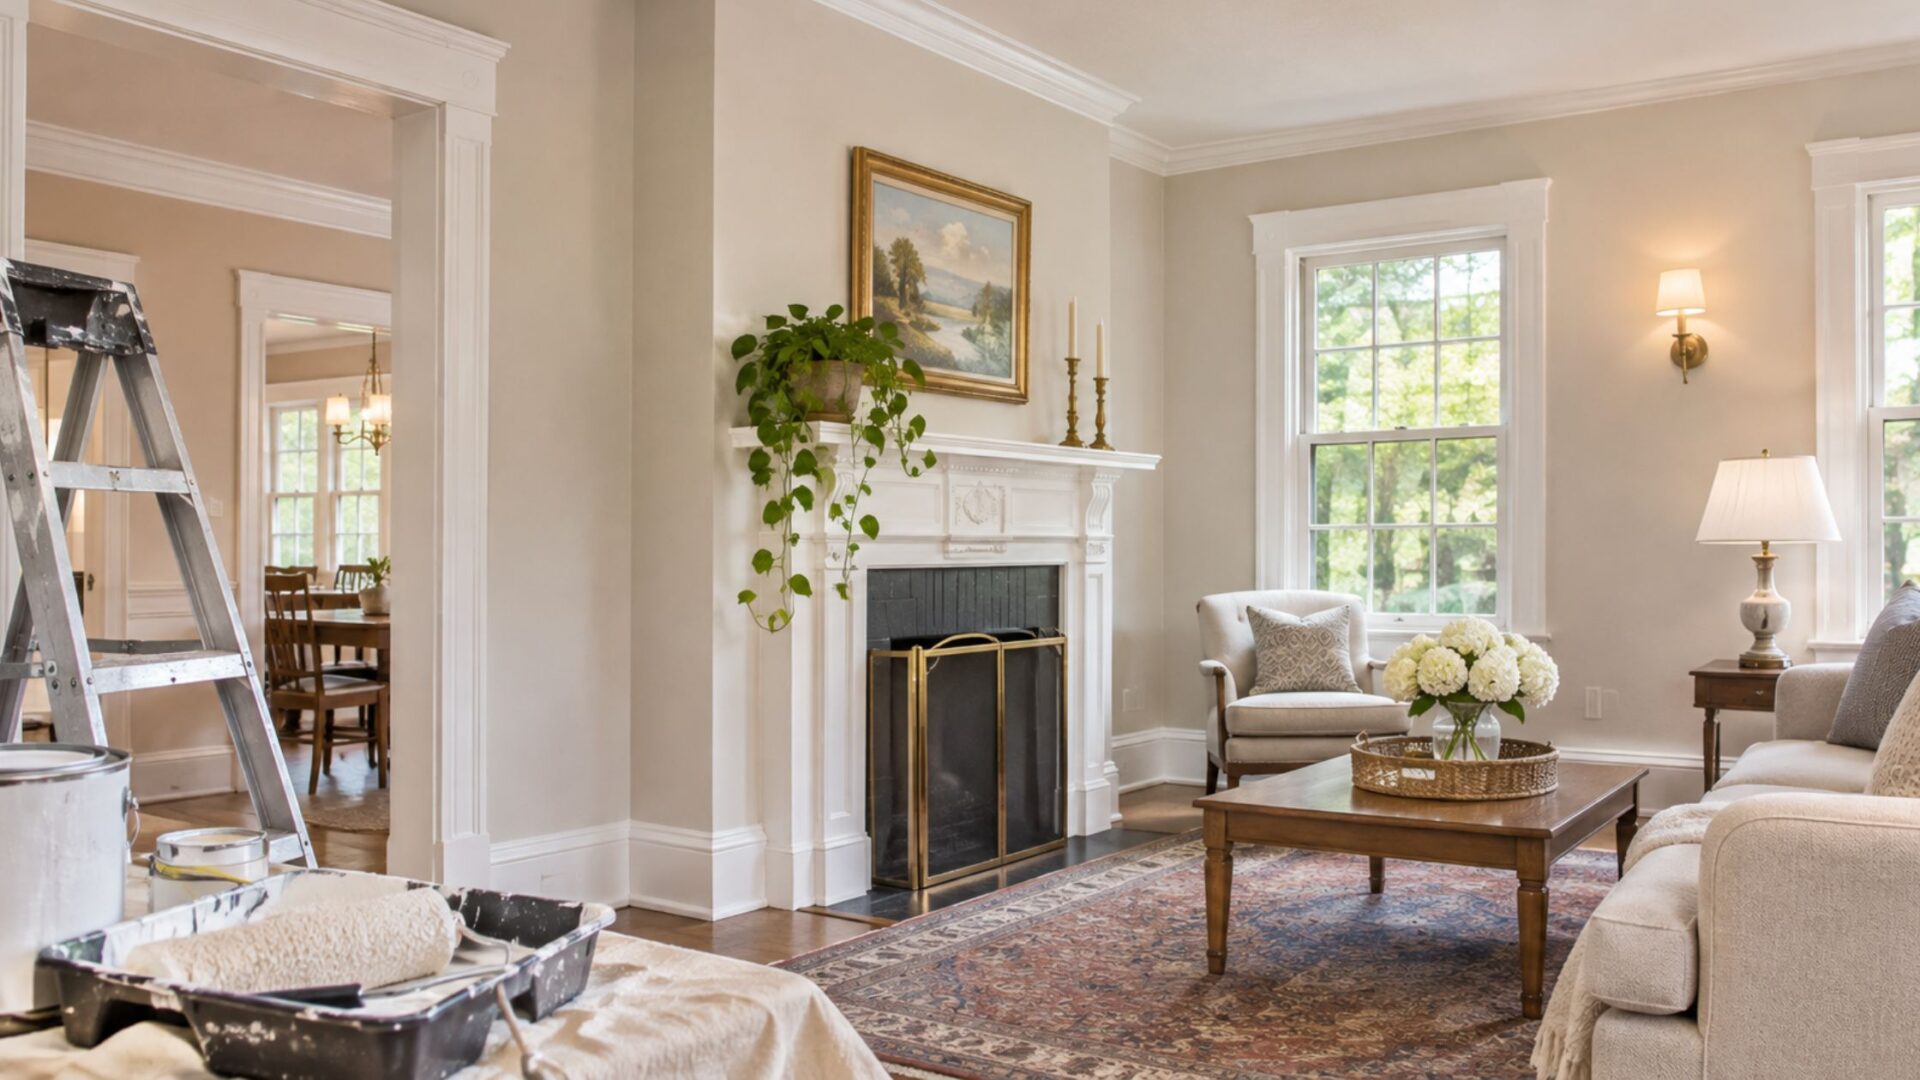
Older homes often have features that give them character, from original trim and detailed moulding to established layouts and traditional finishes. Over time, however, walls, ceilings, doors, and trim can begin to show years of wear. Faded paint, dents, drywall cracks, nail holes, stains, and uneven previous repairs can make an otherwise well-maintained home feel dated.
Interior painting is one of the most practical ways to refresh an older home without changing its original character. A new colour can brighten rooms, create a cleaner appearance, and make existing architectural features stand out again. The best results depend on proper preparation before the first coat of paint is applied.
For homeowners considering interior painting Victoria services, repairing drywall, preparing older surfaces, choosing the right primer, and selecting colours that work with the home’s existing finishes can create a smoother and longer-lasting result.
Why Interior Painting Works So Well in Older Homes
Paint covers some of the largest visible surfaces inside a home. Walls, ceilings, doors, baseboards, and window trim all influence how clean and updated a room feels.
Older paint can gradually lose its original colour and finish. Previous touch-ups may become obvious, especially when different paints or sheens were used over the years. High-traffic areas can develop scuffs, dents, fingerprints, and other marks that regular cleaning no longer removes.
Fresh interior paint creates a more consistent surface and can visually connect rooms that have been updated at different times.
Refreshing Without Removing Original Character
Updating an older home does not mean every original detail needs to be replaced. Existing woodwork, doors, moulding, built-in shelving, and traditional room layouts may still work beautifully.
Interior painting can refresh the surfaces around these features while allowing the original details to remain.
For example, soft neutral walls can make dark wood trim more noticeable, while a richer wall colour can complement traditional architectural details. Repainting previously painted trim can also sharpen the lines around doors, windows, and floors.
Prepare Older Walls Before Painting
Wall preparation is one of the most important parts of an interior painting project. Older homes often require more preparation because walls may contain years of small repairs, nail holes, drywall cracks, previous patches, and multiple layers of paint.
Painting directly over these defects rarely produces a smooth finish.
Inspect the Walls Carefully
Before choosing paint colours, inspect the walls and ceilings in natural and artificial light. Look from different angles because side lighting can reveal imperfections that are difficult to see when looking directly at the wall.
Pay attention to:
- Drywall cracks and damaged seams
- Nail holes and wall anchors
- Dents and impact damage
- Uneven previous patches
- Peeling or loose paint
- Water stains or discolouration
Not every imperfection requires major drywall work, but repairing visible damage before painting can significantly improve the final result.
Repair Cracks and Dents First
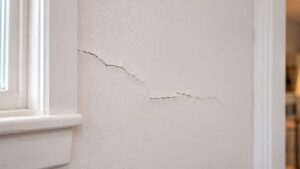
Small cracks can develop from normal settling, framing movement, humidity changes, or failed drywall seams. Dents may come from furniture, door handles, moving boxes, or years of normal use.
Fresh paint will change the colour, but it will not flatten these damaged areas.
Drywall cracks should be repaired and allowed to dry before sanding and priming. Dents and holes should also be filled and blended into the surrounding wall.
Do Not Ignore Recurring Cracks
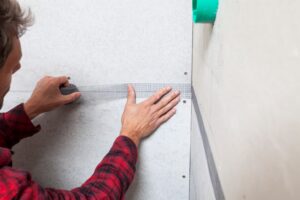
If a drywall crack has already been repaired and keeps returning, another layer of compound may not be enough. The seam underneath may need to be reinforced or retaped.
Repairing the drywall correctly before interior painting helps prevent the same crack from appearing through the fresh finish.
Older Paint Requires the Right Preparation
An older home may have several generations of paint on the same walls. Some rooms may have been repainted repeatedly, while other surfaces still contain finishes from much earlier renovations.
The existing coating needs to be stable before another layer is added.
Clean the Walls
Dust, cooking residue, fingerprints, smoke residue, and other contaminants can interfere with paint adhesion. Kitchens, hallways, bathrooms, and areas around switches tend to collect more residue than bedrooms or lightly used rooms.
Walls should be cleaned as needed and allowed to dry before painting begins.
Deal With Loose or Peeling Paint
Loose paint should not simply be covered with a new coat. If the layer underneath is already separating from the wall, new paint will be attached to an unstable surface.
Peeling areas may need scraping and sanding before primer is applied.
Check for Moisture
Peeling paint can sometimes indicate moisture rather than simple age. Water stains, bubbling, soft drywall, or repeated peeling should be investigated before painting.
A plumbing leak, roof leak, bathroom moisture problem, or condensation issue should be corrected first. Otherwise, the same damage can return through the new paint.
Use Primer Where It Is Needed
Primer creates a more consistent surface for finish paint and can be particularly useful in older homes where walls contain repairs, stains, bare drywall, or several different surface conditions.
Not every previously painted wall needs full priming, but repaired areas often do.
When Primer Is Especially Helpful
Primer may be useful when dealing with fresh drywall patches, significant colour changes, stains, bare surfaces, or glossy older coatings.
Fresh joint compound absorbs paint differently from an already painted wall. If the repair is not primed, the patched area may remain visible because the sheen looks different from the surrounding surface.
A properly prepared and primed repair gives the finish coats a more uniform base.
Choose Paint Colours That Work With the Existing Home
Colour can dramatically change how an older interior feels, but the best choice should work with features that are staying in the room.
Flooring, cabinets, countertops, tile, natural wood, furniture, and lighting can all affect how a paint colour appears.
Consider Natural Light
Rooms with large windows can handle colour differently from spaces with limited natural light. North-facing rooms often receive cooler light, while south and west-facing spaces may experience stronger or warmer sunlight.
A colour that looks neutral on a paint sample may appear warmer, cooler, darker, or lighter once it covers an entire wall.
Test potential colours directly in the room and view them at different times of day.
Consider Artificial Lighting Too
Light bulbs affect colour after sunset. Warm lighting can emphasize yellow and beige undertones, while cooler lighting may bring out grey or blue tones.
Older homes sometimes contain several types of fixtures and bulbs throughout the same floor. Reviewing the lighting while selecting paint colours can help create a more consistent result.
Use Colour to Highlight Older Features
Paint can help traditional details feel intentional rather than outdated.
Original wood trim can stand out against lighter walls. Built-in shelves can be highlighted with a contrasting colour. Doors or mouldings can also become part of the design instead of disappearing into the background.
The goal is to work with the existing architecture rather than automatically covering every feature.
Refresh Walls, Ceilings, and Trim as One Project
Repainting only the walls can improve a room, but older ceilings and trim may become more noticeable once the walls look fresh.
A complete interior refresh should consider how these surfaces work together.
Ceilings
Older ceilings can show cracks, water stains, old patches, or inconsistent texture. These problems should be repaired before painting.
Ceilings also receive strong directional light, which can reveal poor drywall repairs. Smooth finishing and proper primer are particularly important when repairing ceiling drywall.
Trim and Baseboards
Baseboards, window casings, and door frames often collect chips and marks over time. Repainting them can create cleaner lines around the room and make wall colours look more finished.
Trim does not always have to be bright white. It can complement the walls, contrast with them, or remain natural wood if the original material is worth preserving.
Doors
Interior doors often show wear around handles and edges. Repainting doors can make an older hallway or bedroom feel significantly cleaner without replacing the doors themselves.
Coordinate Drywall Repair and Interior Painting
Older homes frequently need drywall repair before painting. Handling both stages as one planned project can create a more consistent finish.
When using professional interior painting services, homeowners can address damaged drywall before the final paint is applied instead of painting first and repairing the wall later.
A typical preparation and painting process may include:
- Inspect walls and ceilings for damage.
- Repair drywall cracks, dents, holes, and damaged seams.
- Sand and blend repaired areas.
- Match existing texture where necessary.
- Clean and prepare the surrounding surfaces.
- Prime repaired or difficult areas.
- Apply the selected interior paint.
- Inspect the finished surfaces for consistent coverage.
This sequence helps create a cleaner transition between repaired drywall and the surrounding painted surface.
Why Drywall Preparation Matters
Even high-quality paint cannot hide a poorly finished patch. Raised edges, sanding marks, visible tape, and texture differences can remain noticeable after several coats.
The drywall needs to be smooth before painting begins.
Watch for Previous Repairs
Older homes often contain repairs completed by different contractors or previous owners. Some patches may be structurally sound but poorly blended.
Reworking these areas before painting can help create a more uniform wall rather than making old repairs more noticeable under fresh paint.
Interior Painting in Older Esquimalt Homes
Older homes and renovated properties often contain a mixture of original finishes and newer drywall work. One room may have older painted surfaces, while another contains drywall patches from electrical, plumbing, or previous renovation projects.
This mix of surfaces requires careful preparation because new joint compound, old paint, patched drywall, trim, and textured areas can absorb coatings differently.
Homeowners planning renovation work can use painting and drywall services in Esquimalt to address both surface repairs and interior painting as part of the same project.
Renovation Work Can Leave Walls Uneven
Electrical upgrades, plumbing work, new fixtures, relocated outlets, or changes to interior walls can leave holes and patches behind.
Before repainting, these areas should be repaired, blended, and primed so the renovation work does not remain visible after the room is finished.
For older homes, this can be especially useful when several generations of work exist on the same wall.
How Interior Painting Can Make an Older Home Feel Newer
You do not always need a major renovation to make an older interior feel more current. Paint can create noticeable improvement when the home’s layout and main features are still working well.
A successful interior painting project can:
- Create a cleaner and more consistent appearance
- Brighten rooms with worn or dated colours
- Highlight original trim and architectural details
- Blend older drywall with newer repairs
- Make ceilings, walls, doors, and trim feel coordinated
- Prepare rooms for updated furniture or decor
The biggest improvement often comes from combining good preparation with the right colour rather than simply choosing a different paint.
Frequently Asked Questions About Painting Older Homes
Should drywall cracks be repaired before interior painting?
Yes. Cracks should be repaired before primer and finish paint are applied. Painting over a crack may hide it temporarily, but it will not stabilize a failed drywall seam.
Do old walls always need primer?
Not always. Sound previously painted walls may be suitable for direct repainting after proper cleaning and preparation. Primer is especially useful over drywall repairs, stains, bare areas, glossy surfaces, or significant colour changes.
Can interior painting make an older house look more modern?
Yes. Updating walls, ceilings, doors, and trim can change the overall appearance without removing the home’s original architectural features.
Should old drywall patches be repaired again?
If previous patches are raised, cracked, rough, or clearly visible, refinishing them before painting can produce a smoother final surface.
What If the Patch Is Structurally Sound?
A sound patch may only need additional feathering, sanding, or primer rather than complete replacement. The repair method depends on how visible the existing transition is.
Should trim always be painted white?
No. White trim is common, but natural wood, darker colours, or tones similar to the walls can also work well. The best choice depends on the style and existing finishes of the home.
Give an Older Home a Cleaner, Updated Finish
Interior painting can refresh an older home without removing the details that give it character. The most important step is preparing the surfaces properly before choosing the final finish.
Repair drywall cracks and dents. Correct moisture problems. Improve rough patches. Clean older surfaces, sand where needed, prime repairs, and choose colours that work with the home’s existing flooring, trim, lighting, and architectural details.
When drywall preparation and interior painting are treated as one complete process, walls and ceilings can look smoother, colours appear more consistent, and older rooms can feel cleaner and more intentional.
A successful refresh does not need to erase the age of the home. It should make the existing space look cared for, finished, and ready for the next stage of its life.