Popcorn ceilings were common in many older homes because the textured finish helped hide minor imperfections and could be applied quickly across large ceiling surfaces. Today, many homeowners prefer smoother ceilings that create a cleaner appearance and are easier to paint and maintain.
Removing the texture may look straightforward, but popcorn ceiling removal often involves much more than scraping the surface. Ceiling age, possible asbestos-containing material, previous paint, drywall condition, repairs, sanding, skim coating, and final painting can all affect the project.
For homeowners considering popcorn ceiling removal Victoria services, understanding these factors before work begins can help avoid unnecessary damage and create a smoother finished ceiling.
Start by Checking the Age and Condition of the Ceiling
Before removing any textured ceiling, inspect the existing surface carefully.
Older ceilings may have been painted several times, repaired after leaks, patched around electrical fixtures, or altered during previous renovations. Some sections may also be loose while others remain firmly bonded to the drywall.
Look for Existing Damage
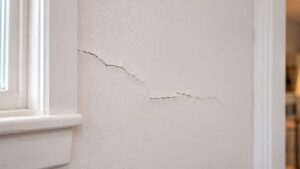
Check the ceiling for cracks, water stains, peeling texture, sagging areas, previous patches, and discolouration. These conditions can affect both the removal process and the amount of drywall repair needed afterward.
Water damage deserves particular attention. If staining or soft drywall suggests an active leak, the moisture source should be corrected before the popcorn ceiling is removed and refinished.
Painted Popcorn Ceilings Can Be Harder to Remove
Some textured ceilings have been painted over multiple times. Paint can seal the texture and make traditional wet removal methods less effective.
A ceiling that has never been painted may respond differently from one covered by several layers of latex paint. This is one reason the existing ceiling should be assessed before deciding how the texture will be removed.
Asbestos Testing Should Come Before Disturbing Older Texture
One of the most important considerations with an older popcorn ceiling is whether the texture or surrounding building materials may contain asbestos.
Do Not Guess Based on Appearance
You cannot confirm whether a textured ceiling contains asbestos simply by looking at it.
Two ceilings can look nearly identical while containing completely different materials. The age of the home can indicate that testing deserves consideration, but appearance alone is not a reliable test.
If the ceiling may contain asbestos, it should be assessed appropriately before scraping, sanding, drilling, or otherwise disturbing the material.
Why Testing Matters Before Removal
Popcorn ceiling removal creates dust and debris. If asbestos-containing material is disturbed incorrectly, fibres may become airborne.
Testing before work begins allows the removal plan to be based on actual information rather than assumptions.
Drywall Medic’s Victoria service page also identifies asbestos testing as part of its available ceiling and drywall services, alongside popcorn ceiling removal and repair.
Protect the Room Before Ceiling Removal Begins
Even when asbestos is not present, textured ceiling removal can be messy.
Old texture, drywall compound, dust, water, and sanding debris can fall throughout the room. Proper preparation helps protect flooring, furniture, walls, fixtures, and adjoining spaces.
Clear as Much of the Room as Possible
Furniture and decorations should be removed when practical. Items that cannot be moved should be covered carefully and kept away from the main work area.
Light fixtures, ceiling fans, and other ceiling-mounted items may also need protection or removal depending on the project.
A prepared room is easier to work in and easier to clean once the ceiling work is finished.
How Popcorn Ceiling Removal Is Typically Completed
The exact method depends on whether the texture has been painted, what material is underneath it, and whether testing has identified any hazardous material.
When standard removal is appropriate, the project usually involves more than one stage.
A Typical Removal and Refinishing Process
- Inspect the ceiling and identify damaged areas.
- Complete any required testing before disturbing the texture.
- Protect floors, walls, fixtures, and adjoining rooms.
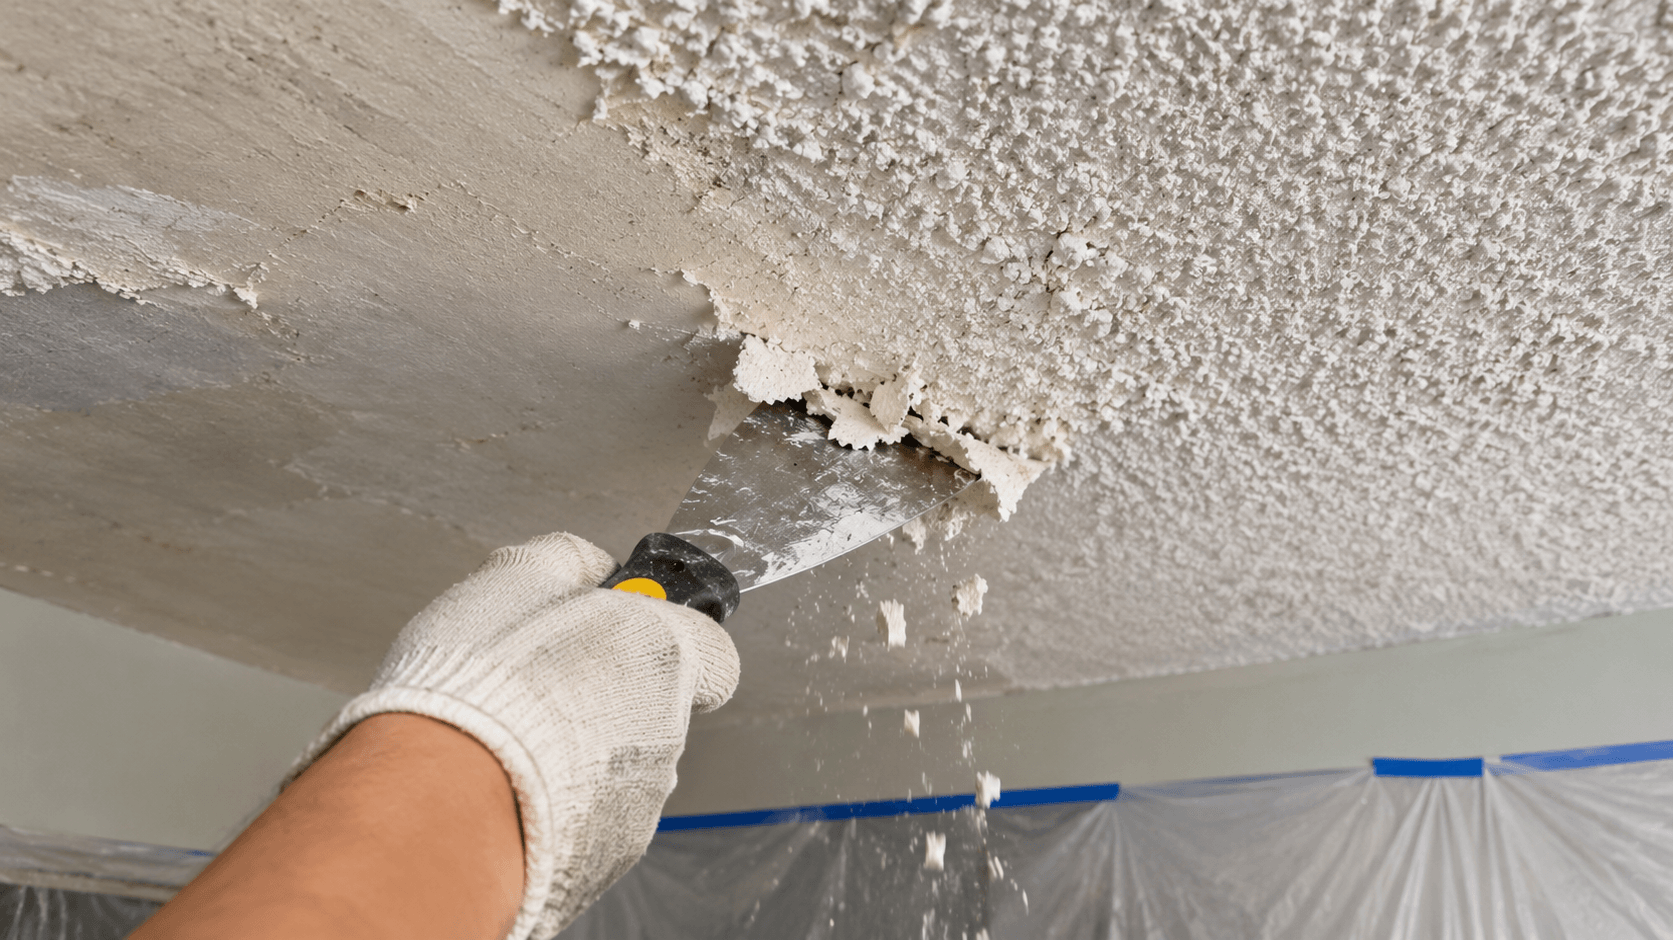
- Remove the existing popcorn texture using a method appropriate for the ceiling.
- Repair gouges, cracks, seams, and damaged drywall.
- Skim coat the ceiling where necessary.
- Sand and smooth the finished surface.
- Prime the repaired drywall.
- Apply the final ceiling paint.
The amount of work required after removal can vary considerably. Some ceilings reveal relatively smooth drywall underneath, while others expose unfinished joints, previous repairs, or surface damage that needs additional attention.
Removing the Texture Is Only Part of the Project
One of the most common misconceptions about popcorn ceiling removal is that the ceiling will automatically be smooth once the texture has been scraped away.
That is rarely the entire process.
Textured finishes were often used partly because they could conceal imperfections. Once the texture is removed, seams, fasteners, uneven compound, scratches, and repairs may become more visible.
Ceiling Repairs May Be Needed
Scraping can also expose or create small areas of damage.
The drywall may need repairs for cracks, dents, gouges, loose tape, or damaged joints. Areas around light fixtures and previous ceiling work may require additional finishing.
These repairs should be completed before the final skim coat and paint.
Skim Coating Creates a More Uniform Surface
Skim coating involves applying a thin layer of joint compound across the ceiling to help level imperfections and create a smoother surface.
Not every ceiling requires the same amount of skim coating. The need depends on the condition of the drywall after the texture is removed.
Smooth Ceilings Show More Imperfections
Once a ceiling becomes smooth, light can reveal subtle ridges and uneven areas that the old texture previously concealed.
This makes careful finishing important. A ceiling may feel smooth to the touch but still show imperfections when daylight or artificial lighting moves across the surface.
Sanding Needs Proper Dust Control
After drywall repairs and skim coating, sanding helps create the final smooth surface.
Ceiling sanding can produce significant amounts of fine dust if it is not properly controlled. Protecting the room and using appropriate dust-management equipment can reduce how much debris spreads into the rest of the home.
Professional ceiling finishing often uses dust containment and vacuum-assisted sanding equipment to keep the work area cleaner.
Drywall Medic’s current Victoria popcorn ceiling removal information specifically notes containment, cleanup practices, surface preparation, and finishing as important parts of professional removal.
Primer and Paint Complete the Ceiling
Freshly finished drywall should usually be primed before ceiling paint is applied.
Joint compound is more porous than previously painted surfaces. Without proper primer, repaired areas can absorb finish paint differently and remain visible even when the ceiling is technically smooth.
Flat Ceiling Paint Is Common
Flat finishes are frequently used on ceilings because they reflect less light and can help minimize the appearance of minor surface variations.
The appropriate product still depends on the room and ceiling condition. Bathrooms or other moisture-prone areas may require coatings suited to those conditions.
The final paint stage should happen only after the drywall repairs, skim coating, sanding, and primer have been completed properly.
Popcorn Ceiling Removal in Victoria
Older textured ceilings remain common in Victoria and surrounding communities. Some homeowners remove them while renovating a single room, while others update ceilings throughout the entire home.
For homeowners planning popcorn ceiling removal, the scope should account for testing when necessary, room protection, texture removal, drywall repairs, skim coating, sanding, priming, and final finishing.
Treating these steps as one complete ceiling project can help produce a cleaner result than focusing only on removing the visible texture.
Older Textured Ceilings in Saanich Homes
Saanich includes homes from many different periods, which means homeowners may encounter older textured ceilings during renovations, drywall repairs, electrical upgrades, or interior painting projects.
An older ceiling may have been repaired or repainted several times, so the condition underneath the texture is not always obvious until the project is properly assessed.
Homeowners looking for drywall services in Saanich can coordinate popcorn ceiling removal with drywall repair, patching, texture work, asbestos testing, and painting where needed. Drywall Medic’s current Saanich page lists popcorn ceiling removal, popcorn ceiling repair, asbestos testing, drywall repair, drywall patching, and painting among its local services.
Renovations Can Reveal Previous Ceiling Work
Removing old lighting, relocating fixtures, or opening ceilings for electrical or plumbing work can expose patches and texture differences.
If popcorn ceiling removal is already planned, completing these renovation tasks first can reduce the need to disturb the newly finished ceiling later.
Should You Remove or Repair a Popcorn Ceiling?
Not every textured ceiling needs complete removal.
A small damaged section may sometimes be repaired when the homeowner wants to preserve the existing texture. Full removal may make more sense when the goal is a smooth ceiling throughout the room.
Consider removal when the texture is widespread, and you want a modern smooth finish. Repair may make more sense when damage is localized, and the existing texture is otherwise in good condition.
Factors to Consider
A few questions can help determine the project scope:
- Is the texture damaged or simply dated?
- Has the ceiling been painted?
- Is asbestos testing needed before disturbance?
- Are there cracks, water stains, or previous repairs?
- Do you want a smooth ceiling or to preserve the existing texture?
- Will other renovation work affect the ceiling?
The answers influence how much preparation and finishing will be required.
Can You Remove a Popcorn Ceiling Yourself?
Some homeowners consider popcorn ceiling removal a DIY project because the basic concept appears simple. The challenge is that scraping is only one part of the work.
Testing, containment, working overhead, protecting the room, avoiding drywall damage, repairing seams, skim coating, sanding, and finishing all require additional planning.
If the ceiling may contain asbestos, DIY disturbance should not begin until the material has been properly assessed and appropriate requirements are understood.
Professional removal can be especially useful when the ceiling covers a large area, has been painted, contains significant damage, requires extensive smoothing, or is part of a larger renovation.
Frequently Asked Questions About Popcorn Ceiling Removal
Does Every Popcorn Ceiling Contain Asbestos?
No. Not every textured ceiling contains asbestos. However, older ceiling coatings and other building materials may contain it, and appearance alone cannot confirm whether asbestos is present.
Testing should be considered before disturbing suspect materials during renovation.
Can Popcorn Ceiling Texture Simply Be Scraped Off?
Sometimes, but the removal method depends on the ceiling. Painted texture can be more difficult to remove, and the drywall underneath may require substantial repair and finishing afterward.
Do Ceilings Need Skim Coating After Texture Removal?
Many do, especially when the underlying drywall contains visible joints, uneven compound, scratches, or previous repairs. The amount of skim coating depends on the condition of the ceiling.
Can You Paint Immediately After Removing a Popcorn Ceiling?
Usually not. Repairs and skim coating should be completed first, followed by sanding and primer. Painting before the surface is properly finished can leave visible defects.
How Messy Is Popcorn Ceiling Removal?
Removal and sanding can produce substantial debris and dust. Room protection, containment, and dust control are important parts of the project.
Can a Damaged Popcorn Ceiling Be Repaired Instead of Removed?
Yes, depending on the damage and whether you want to keep the existing texture. Localized repairs can sometimes restore a damaged section, while complete removal is better suited to homeowners who want a smooth finish.
Plan the Entire Ceiling Project Before You Start
Popcorn ceiling removal is more than scraping old texture from drywall. A successful project starts with assessing the age and condition of the ceiling and determining whether testing is needed before any material is disturbed.
From there, the room needs proper protection, the texture must be removed using an appropriate method, and the exposed drywall needs to be inspected. Cracks, damaged seams, gouges, and old patches may need repair before skim coating and sanding can create a smooth surface.
Primer and paint then complete the ceiling.
Planning each stage before removal begins can reduce surprises and help produce a finished ceiling that looks intentional rather than simply stripped of its old texture.