If you’ve noticed visible drywall seams after painting, you’re not alone. Many homeowners face this issue, and it can be frustrating. The good news is that with the right materials and techniques, you can achieve a seamless finish. Start by identifying those problem areas, then gather your supplies. Preparing the surface properly is essential, so make sure you know the steps to take before applying joint compound. Let’s explore the process further.
Key Takeaways
- Inspect the painted seams under different lighting to identify visible imperfections and areas needing attention.
- Clean the affected area thoroughly, removing dust and debris to ensure proper adhesion of repairs.
- Apply joint compound to the seams, feathering the edges for a smooth transition between wall surfaces.
- Sand the dried joint compound using fine-grit sandpaper for a seamless finish before repainting.
- Repaint the repaired areas with primer and paint to match the surrounding wall and conceal any imperfections.
Identify the Problem Areas
To tackle drywall seams effectively, you first need to pinpoint the problem areas. Start by examining the wall under different lighting conditions; harsh light can accentuate seam visibility. Look for uneven texture or ridges along the seams, as these indicate poor finishing. Run your hand along the surface to feel for imperfections.
Pay close attention to corners and joints, where seams are most prone to failure. If you notice paint or texture inconsistencies, it’s a clear sign that the drywall texture hasn’t been blended effectively. Document these areas for later correction. By identifying these problem spots now, you’ll set the stage for a smoother repair process, ensuring a flawless final finish that improves the overall look of your walls.
Gather Your Materials
Gathering your materials is vital for a successful drywall seam repair. Start with drywall materials like joint compound, tape, and a putty knife. Choose a high-quality joint compound for a smoother finish.
You’ll also need a drywall sander or sanding block to achieve a seamless surface. Don’t forget a dust mask to protect yourself from fine particles.
For the painting phase, gather your painting supplies, including primer, paint, brushes, and rollers. A quality primer helps hide imperfections and guarantees even paint application.
Make certain you have painter’s tape to protect adjacent surfaces. With the right materials at hand, you’ll streamline the repair process and achieve a professional-looking result.
Prepare the Surface
Clean the Drywall Surface
Before you start repairing seams, you need to prepare the drywall surface thoroughly. Cleaning the drywall surface is essential for ensuring a smooth finish when repairing seams.
Start with a thorough drywall cleaning using a damp cloth or sponge to remove dust, dirt, and grease that may have accumulated. If you notice any stubborn stains, consider a mild detergent mixed with water.
After cleaning, allow the surface to dry completely; this step is vital for effective adhesion of any joint compound or primer later on. Pay special attention to corners and edges, as these areas often collect more debris.
Proper surface preparation will greatly improve the quality of your repair, minimizing the chances of visible seams after painting. With a clean surface, you’re setting the stage for a flawless finish.
Inspect for Imperfections
Once the drywall surface is clean and dry, it’s important to inspect for imperfections that could affect the quality of your repair.
Begin your drywall inspection by closely examining the seams for any gaps, ridges, or uneven areas. Use a bright light to highlight seam visibility, as shadows can obscure flaws.
Run your hand along the seams to feel for inconsistencies like bumps or divots. Pay attention to corners and edges where seams meet; these areas often require special attention.
If you find any imperfections, mark them for repair. Addressing these issues before proceeding guarantees a smoother finish and reduces the chances of visible seams after painting.
Use Proper Primer
Applying the right primer is crucial for preparing your drywall seams for a flawless finish. By using a high-quality primer, you improve the adhesion of the paint and create a uniform surface.
There are various primer types available, including latex, oil-based, and shellac primers, each serving specific needs. Latex primers are great for water-based paints, while oil-based primers excel in blocking stains and odors.
The primer benefits extend beyond adhesion; it also helps to seal the drywall’s porous surface, preventing paint absorption that can highlight seams. Before painting, verify the primer dries completely for optimal results.
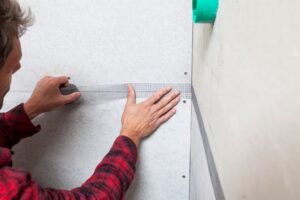
Apply Joint Compound
As you prepare to apply joint compound, guarantee that you’ve properly mixed it to achieve a smooth, creamy consistency.
Using a 6-inch drywall knife, scoop some compound and press it firmly against the seam. Start at one end and apply even pressure, ensuring you cover the seam completely.
For a seamless finish, employ drywall texture techniques to feather the edges of the joint compound. This technique will help blend the compound with the surrounding wall surface.
Work in thin layers; it’s better to apply multiple coats than one thick layer. Allow each coat to dry fully before applying the next.
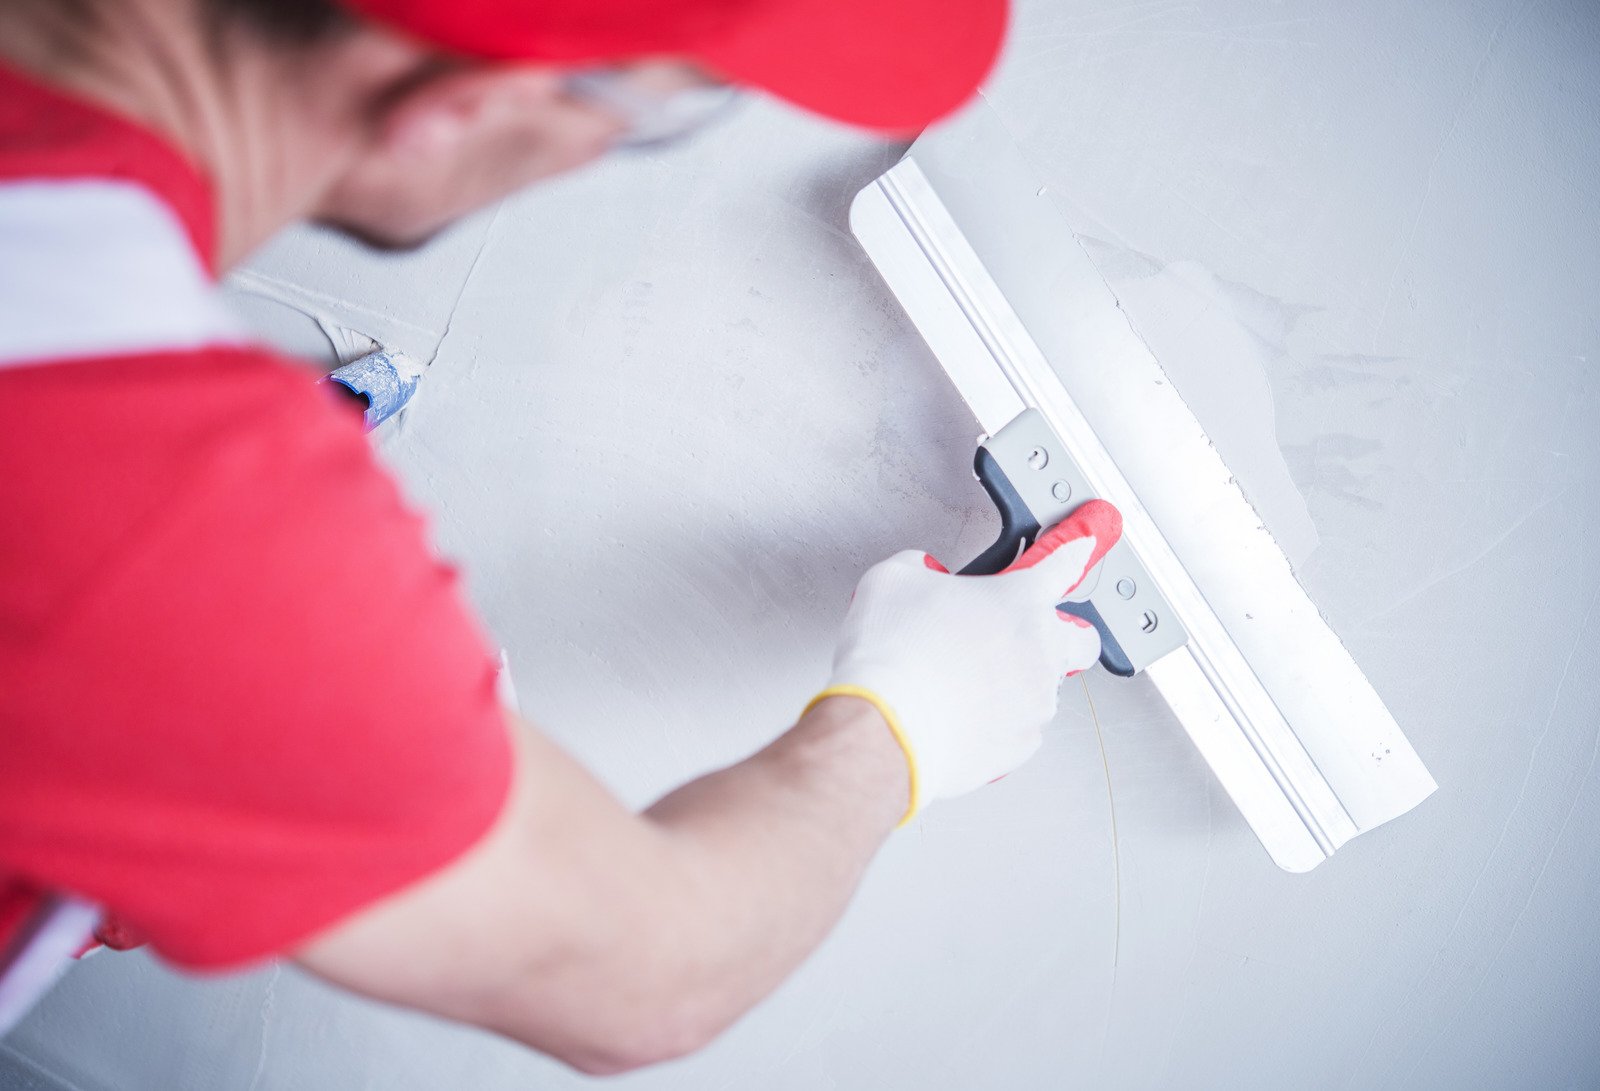
Sand and Smooth the Area
Sand the area carefully to achieve a smooth, even surface that blends seamlessly with the surrounding wall.
Use fine-grit sandpaper, ideally 220-grit, to gently sand down the joint compound. Employ circular and back-and-forth sanding techniques to avoid creating uneven spots.
For more precision, consider using a sanding block or a pole sander, which can help you maintain even pressure and reach larger areas easily.
After the initial pass, wipe the surface with a damp cloth to remove dust and check for imperfections. If necessary, apply additional joint compound, let it dry, and repeat the sanding process.
Repaint for a Flawless Finish
Once you’ve sanded and smoothed the area to perfection, it’s time to repaint for a flawless finish.
Start by selecting your paint color carefully; choose a shade that matches the existing wall color to guarantee uniformity. Use a high-quality primer on the repaired seam to promote adhesion and prevent bleed-through.
When applying paint, utilize a brush for edges and a roller for larger surfaces, guaranteeing even coverage. Employ techniques such as feathering to blend your new paint seamlessly with the surrounding area.
Apply at least two coats, allowing adequate drying time between applications. This meticulous approach, combined with proper color selection and effective painting techniques, will help you achieve a professional-looking result that effectively conceals any previous imperfections.
Frequently Asked Questions
Can I Use a Spray Texture to Hide Drywall Seams?
Yes, you can use spray texture to hide drywall seams. Employ consistent application techniques for an even finish, ensuring proper distance and angle during spraying. This method effectively conceals imperfections, enhancing your wall’s overall appearance.
How Long Should Joint Compound Dry Before Sanding?
You should wait at least 24 hours for the joint compound to dry fully before sanding. This drying time guarantees a smooth surface, allowing you to use an effective sanding technique without disturbing the underlying material.
What Type of Paint Is Best for Hiding Seams?
To hide seams effectively, you should use a matte finish paint, as it offers the best coverage and minimizes reflections. Satin sheen can work too, but it might highlight imperfections more than desired.
Is It Necessary to Prime Before Repainting?
Yes, priming before repainting is essential. It improves paint adhesion, ensuring a smoother finish and better durability. Priming also helps in hiding imperfections, providing a solid base for the topcoat, ultimately elevating your project’s overall appearance.
How Can I Prevent Drywall Seams From Showing in the Future?
To prevent drywall seams from showing, guarantee proper seam treatment with joint compound, then apply texture evenly. This method helps blend seams into the wall, creating a seamless finish that improves your overall paint job.
Conclusion
To achieve a flawless finish, addressing visible drywall seams post-painting is essential. By identifying problem areas, gathering high-quality materials, and meticulously applying joint compound, you can effectively conceal those seams. Sanding the area guarantees a smooth surface for repainting, leading to an impeccable appearance. Remember, patience and precision are key throughout this process. With these steps, you’ll restore your walls to a pristine condition, enhancing the overall aesthetic of your space.