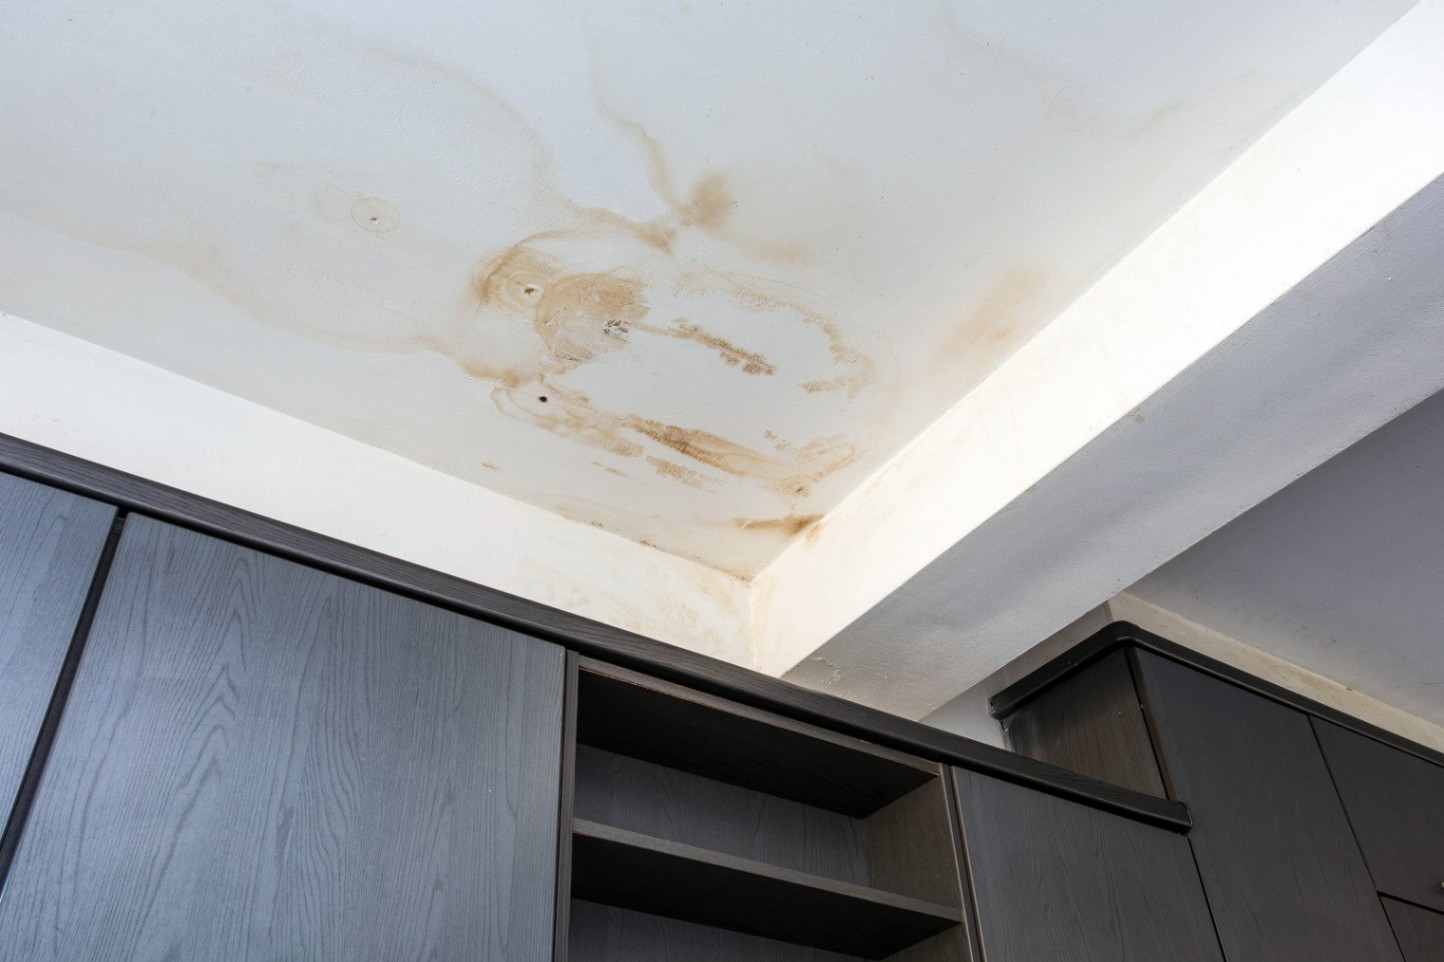
If you’ve spotted an ugly water stain on your ceiling, you might wonder how to fix it without repainting the entire room. The first step is to figure out what’s causing the stain—like a roof leak or a plumbing problem—and fix it right away. Once that’s handled, you can clean and treat the area properly. Follow these steps to make your ceiling look clean again—without the need for a full paint job.
Key Takeaways
-
Find and fix the source of the water stain—leaks, moisture, or poor ventilation—before doing any repairs.
-
Clean the stain with a vinegar solution or baking soda paste to lift discoloration.
-
Use a stain-blocking primer to seal the spot and stop the stain from coming back.
-
Touch up the paint with a small brush or roller and match it with the ceiling color.
-
Inspect your roof and plumbing often to catch future issues early.
Understanding the Causes of Water Stains
Water stains on your ceiling usually mean something’s leaking. Common causes include roof problems, plumbing leaks, or too much indoor moisture.
Start by checking your roof for damaged shingles or clogged gutters. Look at your plumbing too—loose pipes or water spots are a red flag. Poor air circulation might also be to blame, especially in bathrooms or kitchens.
Before doing any painting or patching, fix the cause of the moisture. This helps make sure the stain doesn’t return later on.
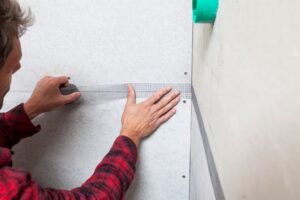
Gathering the Necessary Supplies
Before you fix anything, make sure you have everything you’ll need. Here’s what to gather:
Essential Repair Tools
Grab a sturdy ladder to safely reach the ceiling. Use a putty knife to scrape off loose paint. Have some sandpaper or a sanding block handy to smooth rough spots.
You’ll also need a ceiling repair compound and either a paintbrush or roller for touch-up work. With these basic tools, you’re set for a simple and effective repair.
Cleaning Solutions Needed
Mix white vinegar and water (equal parts) to spray on the stain—it works well on mildew and light marks. For tougher stains, make a paste using baking soda and water. Let it sit for 10–15 minutes, then gently scrub it away.
These household items are cheap, effective, and easy to use.
Protective Gear Required
Wear goggles to protect your eyes and a mask so you don’t breathe in any dust or mold. Gloves protect your hands from cleaning chemicals, and long sleeves keep your skin covered. If you’re working near anything overhead, a hard hat can be helpful too.
Safety first—always wear the right gear.
Preparing the Area for Repair
Before cleaning or painting, prep your space.
Clear the Surrounding Area
Move furniture and decor away from the repair zone. Cover the floor with a drop cloth to catch drips and dust. This not only protects your belongings but also gives you more room to work safely and efficiently.
Gather Necessary Supplies
Make sure your tools, cleaning solutions, and safety gear are ready to go. With everything close by, the process will be quicker and smoother.
Cleaning the Stain With Household Solutions
Spray the stained area with your vinegar-water mix and let it sit for 10–15 minutes. Use a sponge or cloth to gently scrub it clean. If the stain is stubborn, use the baking soda paste and repeat the process.
Once the stain fades, rinse the area with water and dry it completely. This cleaning step is key—it stops mold and helps the primer stick better.
Applying a Stain-Blocking Primer
Once the ceiling is clean and dry, apply a stain-blocking primer. This helps seal the spot and prevents the stain from showing through again.
Choose a quality primer meant for water stains. Use a brush or roller to apply a smooth, even coat. Make sure it’s completely dry before painting.
This step is important. Skipping it might cause the stain to come back, even after painting.
Touching Up the Ceiling Paint
Use a small roller or brush to carefully paint over the primed area. Try to blend it into the rest of the ceiling so it doesn’t look patchy.
To get the right color, bring a sample of your ceiling paint to a local hardware store—they can match it closely. Apply the paint in light coats and let it dry fully before deciding if another layer is needed.
Done right, the repair should blend in and look natural.
Preventing Future Water Stains
To stop stains from coming back, take preventive steps.
Use waterproof paint on ceilings in areas with a lot of moisture. Check for leaks in the roof, plumbing, or appliances regularly. Clean out gutters and downspouts so water flows away from your home.
If your home feels humid, use a dehumidifier to reduce moisture in the air. Catching these issues early helps keep your ceilings clean and damage-free.
Frequently Asked Questions
Can I use regular paint instead of stain-blocking primer?
No. Regular paint won’t block stains. You need a special primer to stop the stain from bleeding through.
How long does primer take to dry?
Most primers dry in 1 to 2 hours. Oil-based ones may take up to 4 hours. Check the label for exact drying times.
Will the stain come back after repair?
It might—if you don’t fix the leak or moisture source. Always deal with that first before cleaning or painting.
Is it safe to repair water stains myself?
Yes, if you take safety precautions. Wear the right gear, fix the cause, and follow the repair steps carefully.
Can I use this method on textured ceilings?
Yes. Just be careful to match the texture when you paint so it blends in well.
Conclusion
By following these steps, you can fix ceiling water stains without repainting the whole room. Start by stopping the leak, then clean, prime, and paint the affected area. With the right tools and techniques, your ceiling will look as good as new—and stay that way.