Drywall texture is crucial in home design, concealing imperfections and enhancing a room’s appearance. However, many homeowners in Vancouver attempt DIY drywall texture repairs, often leading to disappointing results. Common mistakes include using the wrong tools and skipping preparation steps. To avoid these mistakes, it is essential to follow expert advice and avoid common pitfalls, such as using the wrong tools or skipping important steps.
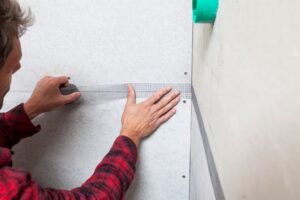
Skipping Proper Surface Preparation
Surface preparation is crucial for drywall texture repair, but many homeowners overlook it.
Common Preparation Mistakes:
Common mistakes include not cleaning the surface, ignoring old paint or primer issues, and skipping patching and sanding. Dust, dirt, and grease can hinder the adhesion of joint compound or texture spray. Failing to sand glossy surfaces or remove peeling paint can cause the texture to crack or flake off.
Solution:
To avoid these mistakes, clean the surface thoroughly, sand glossy or uneven areas, and apply a thin coat of primer before adding texture for proper adhesion and uniform finish.
Using the Wrong Type of Drywall Compound
Choosing the wrong drywall compound can lead to poor texture quality and difficulty in blending with the existing finish.
Common Mistakes with Drywall Compound:
To avoid a weak or blotchy texture, avoid using too much water, selecting the wrong joint compound, and applying premixed compounds incorrectly. Over-thinned compounds can become runny, while all-purpose compounds may not be suitable for textured finishes.
Solution:
Use lightweight joint compound for smaller repairs and easier sanding, while setting-type compound for large texture repairs for durability. Mix compound carefully to the right consistency, thinner for knockdown texture and thinner for orange peel.
Not Matching the Existing Texture Properly
One of the biggest challenges in drywall texture repair is blending new textures with the existing ones. Many DIYers end up with patches that stand out rather than seamlessly merging with the rest of the wall or ceiling.
Common Texture Matching Mistakes:
Common texture-matching mistakes include not using the right application technique, applying too much or too little texture, and not considering drying and shrinking. Each texture style requires a different tool and method, and applying too much or too little texture can result in uneven finishes.
Solution:
To apply texture repair to a wall, identify the type of texture and test it on a scrap board or hidden area before applying it. Use the correct tools to achieve the best match and feather the edges to blend seamlessly with the existing finish.
Rushing the Drying Process
Drywall texture repairs take time to dry, but many homeowners try to speed up the process, leading to cracks, uneven texture, or peeling.
Common Drying Mistakes:
Common drying mistakes include applying paint too soon, using excessive heat or fans, and skipping the drying time between coats, which can cause the damp texture to bubble and peel, shrinkage cracks, and weak spots.
Solution:
To ensure successful multi-layer repairs, follow the recommended drying time, allow proper ventilation, avoid direct heat sources, and be patient, allowing each layer to dry fully before applying the next one.
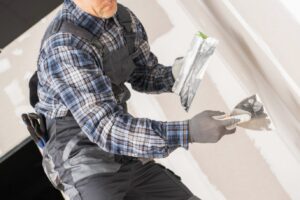
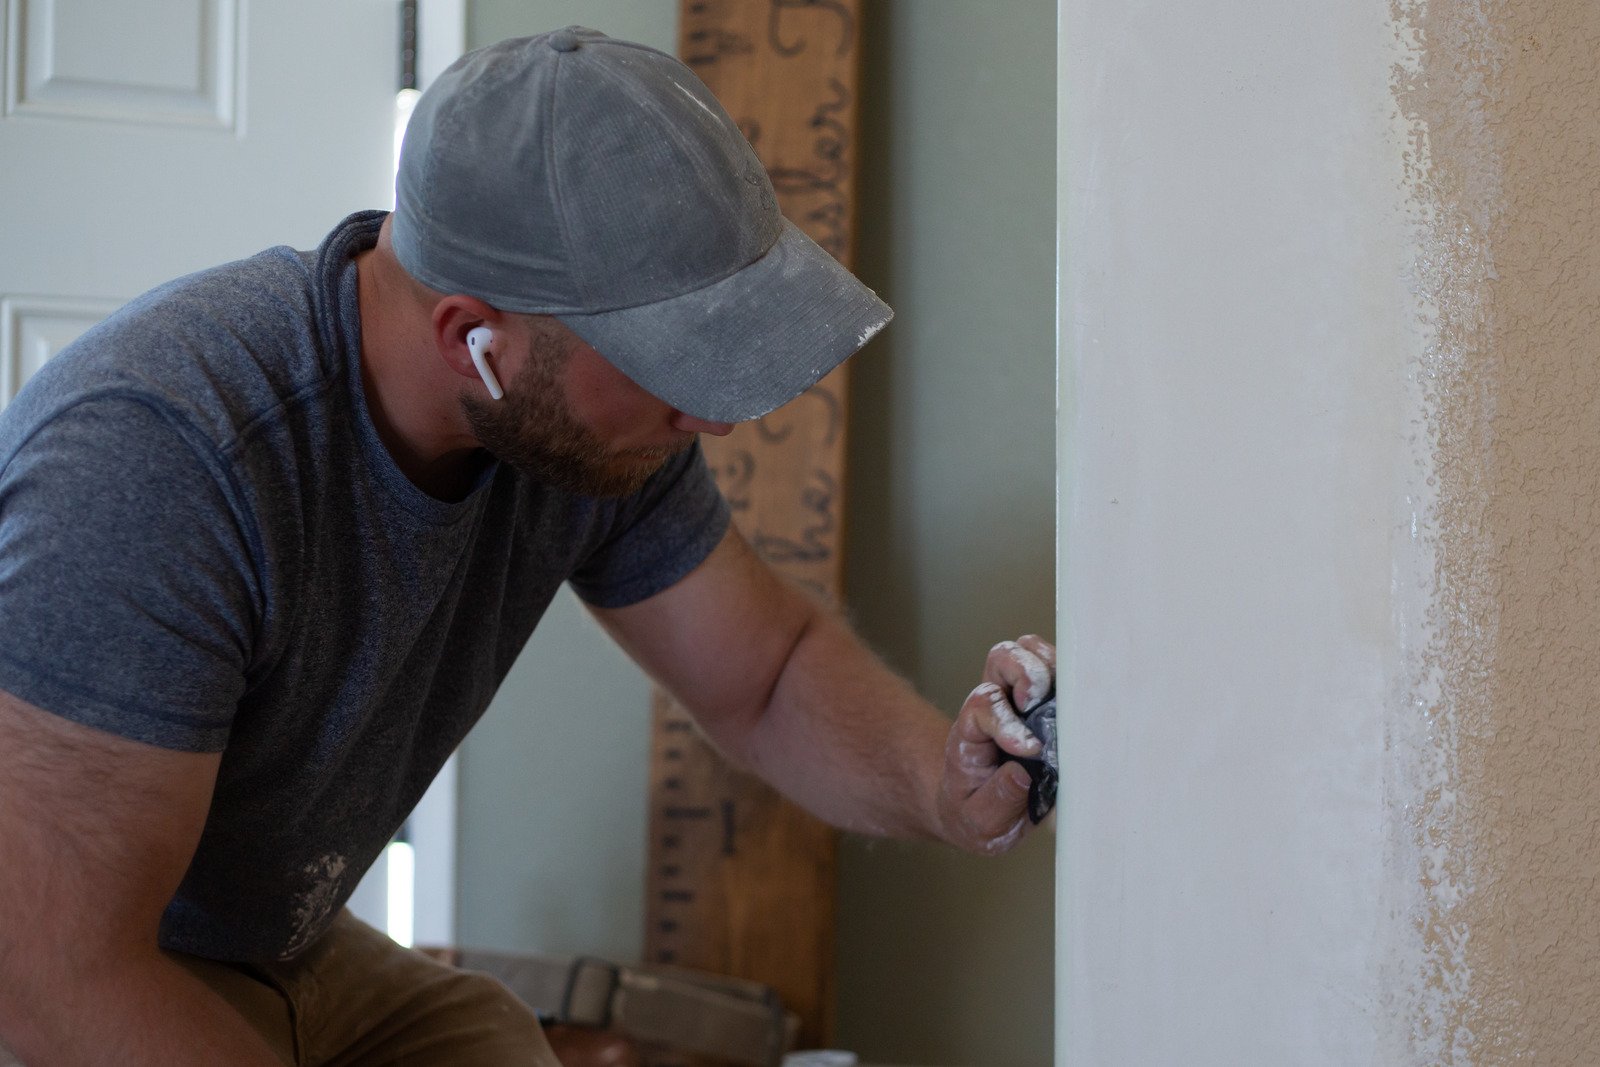
Using the Wrong Tools for Application
The quality of drywall texture repair depends heavily on using the right tools. Many homeowners attempt to apply texture with whatever they have on hand, often with disastrous results.
Common Tool Mistakes:
Common tool mistakes include using the wrong sprayer or roller, applying a knockdown texture without a proper trowel, and using the wrong roller nap. To create a proper texture, use a spray texture can or hopper gun for orange peel, a spray gun for knockdown, and flatten with a wide knife.
Solution:
To create an orange peel texture, use a spray texture can or hopper gun. For knockdown texture, apply with a spray gun and flatten with a knife. For subtle textures, use a sponge or brush.
Not Priming Before Painting
Many homeowners make the mistake of painting directly over fresh texture, which can result in inconsistent color and adhesion problems.
Why Priming Is Essential:
This substance seals the new texture, prevents excessive paint absorption, creates a uniform base, and enhances paint adhesion, ensuring the repaired area does not differ from the rest of the wall.
Solution:
To ensure optimal paint coverage, use a high-quality drywall primer, tinted to match your paint color, and allow the primer to dry completely before applying paint.
Final Thoughts
Drywall texture repair in Vancouver is a complex process that requires patience, skill, and appropriate materials. Homeowners often make mistakes like skipping prep work, using incorrect tools, rushing drying times, and mismatching textures. To avoid these issues, it is recommended to hire a professional with experience and equipment. Contact Drywall Medic for expert service and guaranteed results in drywall texture repair in Vancouver. Below are the contact details: