Do you want to start a drywall project but don’t know where to start? Or maybe you’ve already begun working on your drywall repairs, only to find yourself stuck. No matter what stage of the repair process you are at, Drywall Medic is here to provide detailed guidance that will help even the most novice DIYer finish their drywall project correctly! (And if all else fails and doing it yourself isn’t working, we also provide professional drywall repair services.)
In this blog post we will explain how to assess your project and put together a plan of action for finishing it right – from repairing problematic areas such as holes and cracks, jointing & taping seams for a smooth finish, applying primer & texture coatings, down to priming the entire surface area with multiple layers of paint. With our step-by-step guide created by professional experts from Victoria BC’s leading drywall repair service providers, you’ll have everything necessary for a successful drywall project! By following these detailed instructions, you’ll not only save time but also achieve a professional-quality result that you can be proud of. Additionally, our experts have included drywall finishing troubleshooting tips to help you address common challenges, such as uneven surfaces or difficulties with blending textures. With the right tools, techniques, and guidance, your drywall project will be completed with ease and efficiency! By following our tips and insights, you’ll understand each stage of the perfect drywall finishing process, ensuring your walls look flawless and professional. Whether you’re tackling a small repair or a full room renovation, paying attention to detail at every step is crucial for long-lasting results. With the right tools, materials, and guidance, you’ll achieve a stunning finish that transforms your space.
Gather Your Materials
Before you begin any home renovation project, it’s important to ensure you have all the necessary materials and tools on hand. When it comes to hanging drywall, you’ll need drywall sheets, joint tape, mud, and a variety of tools like a utility knife, taping knife and sandpaper. While it may seem like a lot of items, these are all essential to achieving a smooth and seamless finish. Taking the extra time to gather your materials before starting the job will save you from frustrating trips to the store or delays in the project. Plus, with everything readily available, you can focus on the task at hand and produce the best possible result. Proper preparation also allows you to explore creative approaches and bring unique touches to your project. For example, once you have mastered the basics of installation, you can experiment with cool drywall ideas for homes, such as adding built-in shelves, creating recessed lighting designs, or even crafting stylish accent walls. These innovative features can elevate your space and give it a personalized, professional look.
Prepare the drywall surface
Before starting any drywall project, it’s essential to prepare the drywall surface properly. To begin, remove any debris or dust from the surface using a broom or vacuum. Next, inspect the surface for any dents or bumps. Use a putty knife to fill these imperfections with joint compound. After the compound has dried, sand the surface with fine-grit sandpaper until it’s smooth and level. Finally, wipe the surface clean with a damp cloth to remove any remaining dust. By taking the time to prepare the drywall surface, you’ll ensure that your finished project looks polished and visually appealing. Proper surface preparation is a crucial step that lays the foundation for successful drywall installation techniques. Once the surface is prepped and clean, you can begin applying drywall panels or tape with confidence, knowing that the base is free of flaws. Taking these steps not only simplifies the installation process but also enhances the durability and professional appearance of your project.
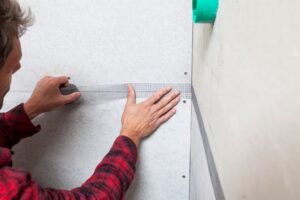
Apply drywall tape and mud
When it comes to home renovation, one of the most challenging tasks is applying drywall tape and mud. It’s a job that requires patience, precision and a steady hand. Made of either paper or mesh, drywall tape helps seal and reinforce seams, corners, cracks and holes. To begin, you’ll need to ensure that the drywall panels are firmly in place and the seams are clean and smooth. From there, you’ll carefully apply the tape to each seam, making sure to smooth out any air bubbles or wrinkles. Once the tape is secure, it’s time to apply the mud. This is where the real artistry comes in as you’ll need to layer the mud on in thin, even coats, allowing each layer to dry fully before applying the next. While it may be a labor-intensive process, the end result is well worth it as it leaves smooth, seamless walls that are ready for painting or wallpapering.
Sanding and smoothing the surface
Drywall can easily show any imperfections if not properly sanded. While it may seem like a tedious task, taking the time to sand thoroughly will ensure that the paint or wallpaper adheres properly to the walls, resulting in a seamless and professional-looking finish.
Priming the drywall
Before you can start painting or hanging wallpaper on your walls, you need to prime the drywall. Priming not only helps the finishing material adhere better, but it also ensures an even finish. Skipping this important step could result in a blotchy or uneven outcome. Priming also seals the drywall, preventing moisture and stains from seeping through. Choosing the right primer depends on the type of finishing material you plan to use and any specific concerns for your space, such as mold resistance or fire resistance. Take the time to prime your drywall properly, and you’ll reap the benefits of a professional-looking finish that will last for years to come.
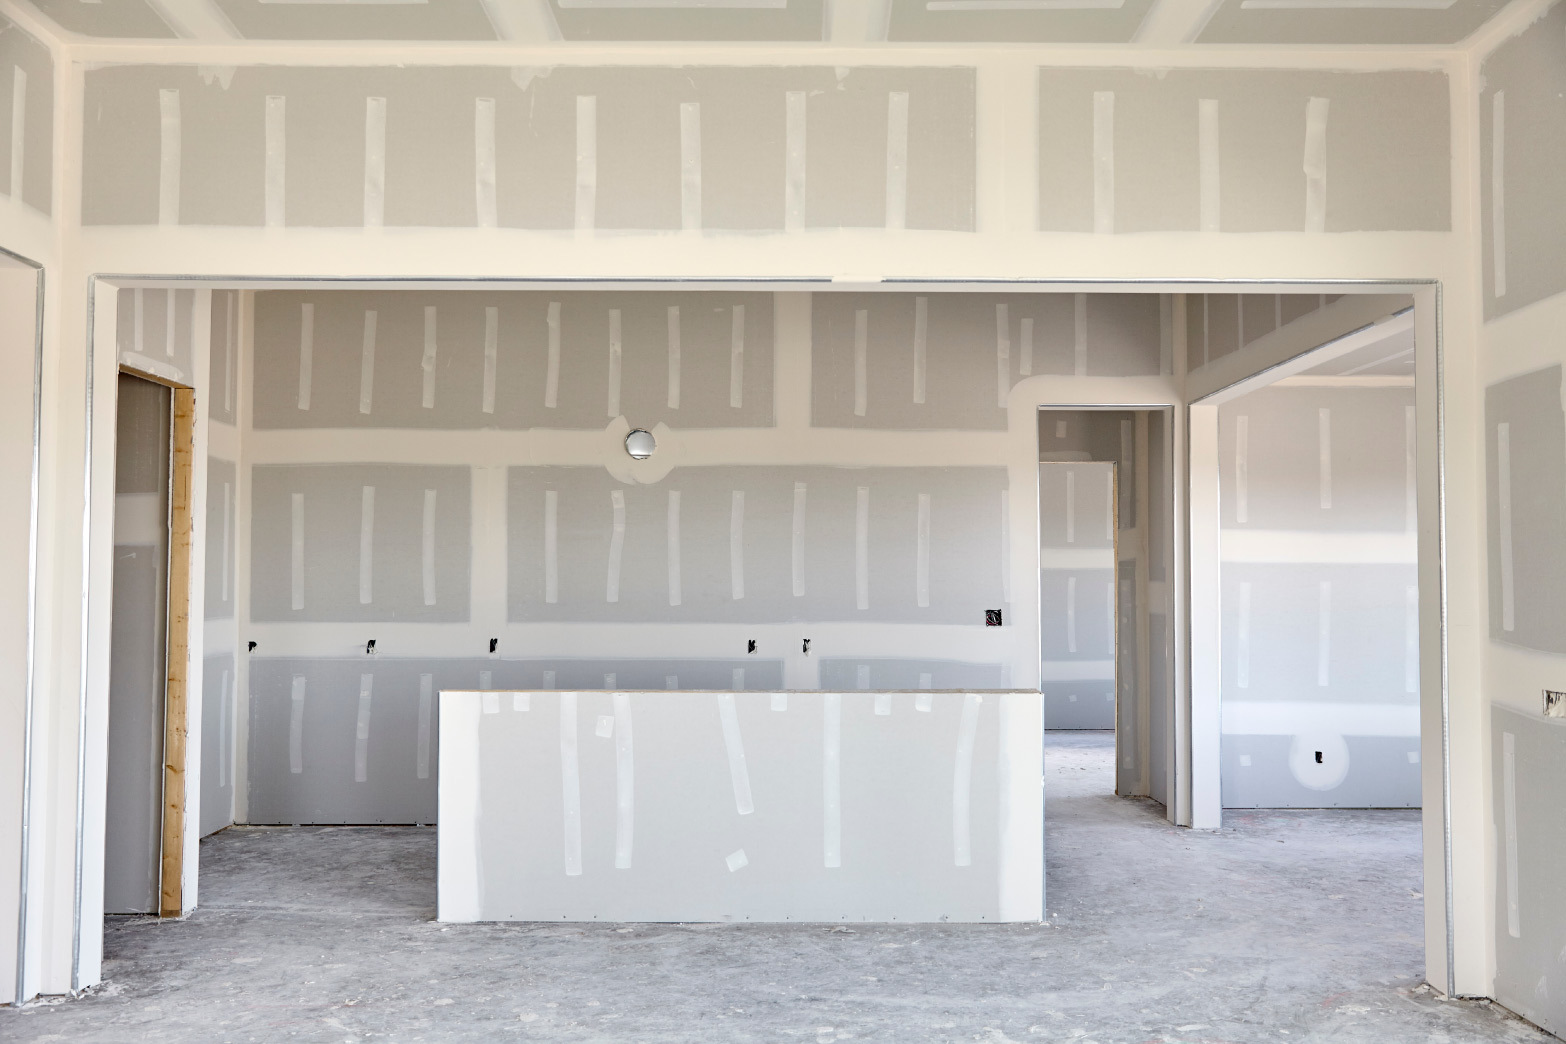
Final coat and finishing touches
After all the hard work of installing and smoothing out drywall, it’s finally time for the final coat and finishing touches. This is the stage where the room starts to come to life, where the surface becomes seamless and ready for paint or wallpaper. The final coat is the last layer of joint compound that is applied and sanded for a perfectly smooth finish. It’s important to take the time to get this step right, as any imperfections will be highlighted once the room is painted or decorated. But it’s not just about getting that perfect finish — the finishing touches, such as adding trim and molding, give the room character and create a polished look. It’s these little details that will make all the difference in creating a space that feels complete and inviting.
Clean up and maintenance
Maintaining a clean and well-maintained living space is essential for any homeowner. Cracks, holes, and water damage can compromise the integrity of the drywall, and it’s crucial to address these issues sooner rather than later. Regularly inspecting and replacing damaged drywall can preserve the structural soundness of your home and prevent further damage from occurring. A clean and well-maintained home not only looks great but also provides peace of mind and a comfortable living space for you and your loved ones. Proper care and attention to your walls can extend their lifespan and enhance the overall appearance of your home. Some effective drywall maintenance tips include promptly repairing minor cracks before they expand, using high-quality joint compound for patches, and ensuring proper ventilation in rooms prone to moisture. By incorporating these practices into your home maintenance routine, you’ll protect your investment and create a more pleasant living environment.
When it comes to drywall repair, there is no one-size-fits-all solution. While some opt for DIY drywall repair, others may find the time and materials required to be a bit overwhelming. Thankfully, Drywall Medic is here to help. Our experienced technicians are equipped with the knowledge and resources needed to provide professional drywall repair services that get the job done right the first time around. We’ve outlined all the steps necessary for successful drywall repair – from gathering your materials to applying drywall tape and mud, priming the wall, adding the final coat, smoothing out any imperfections and giving it a finishing touch. Now you can spend your time enjoying your newly repaired drywall rather than worrying about repairs gone wrong.
If you’re in need of a reliable and experienced team of professionals, Drywall Medic is your trusted source for drywall tips and guidance. Contact us today for more information on what we can do for you! Our team is dedicated to helping you make informed decisions about your drywall needs, whether it’s for a renovation, repair, or new construction project. We can guide you in choosing the best drywall types for homes, ensuring you achieve the perfect balance of durability, functionality, and style. Let Drywall Medic be your partner in creating flawless interiors you’ll love for years to come! Whether you’re tackling a DIY project or planning to hire experts, we’re here to support you every step of the way. Our team provides clear, actionable advice, including drywall installation stepbystep to ensure your project runs smoothly and efficiently. Let Drywall Medic be your go-to resource for all things drywall, from repairs to full-scale installations.