Troubleshooting Common Drywall Finishing Problems For Homeowners in Victoria, BC
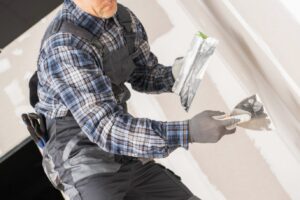
Drywall finishing is an essential stage in building or remodeling because it creates a uniform and smooth surface in preparation for painting or wallpapering. Quite often, problems occur throughout the finishing process that endanger the quality of the finished product, even with the best efforts of contractors and homeowners. One common issue is the appearance of visible seams or uneven textures, which can detract from the overall aesthetic of the space. To achieve professional results, it is crucial to follow the perfect drywall finishing steps, including proper taping, mud application, and thorough sanding. Attention to detail and patience during each stage can significantly minimize imperfections and ensure a flawless outcome.
It is critical to understand common drywall finishing issues and their fixes for homes throughout Victoria, especially where environmental conditions and humid West Coast climate conditions can affect building materials. In this helpful article, we will look at a few of these common problems homeowners face and offer workable fixes to get a perfect finish. From nail pops and cracks to tape bubbles and uneven seams, many of these issues stem from changes in temperature and moisture levels. Victoria’s climate impact on drywall is particularly noticeable due to the region’s fluctuating humidity, which can cause the material to expand and contract over time. Understanding these factors is essential to maintaining a smooth, professional finish that stands up to the unique challenges of the West Coast environment. From cracking joints and uneven surfaces to bubbling tape and nail pops, these issues can compromise both the appearance and durability of your walls. By identifying the root causes and applying the perfect drywall finishing steps, homeowners can ensure their walls not only look flawless but also stand the test of time. With proper techniques and attention to detail, even problem areas can be seamlessly transformed into smooth, polished surfaces. Challenges such as cracks, nail pops, and visible seams can detract from the overall look and structural integrity of your walls, making the importance of drywall repair undeniable. Addressing these issues not only enhances the aesthetic appeal of your home but also prevents further damage caused by moisture or temperature fluctuations. With the right techniques and attention to detail, homeowners can achieve a seamless finish that stands the test of time. Regular care and proactive efforts can make a significant difference in extending the longevity of your walls, especially in regions like Victoria, where climatic challenges are a constant factor. By incorporating practical drywall maintenance tips, such as addressing minor imperfections promptly and ensuring proper ventilation to minimize moisture buildup, homeowners can prevent small issues from escalating into costly repairs. Consistent upkeep, coupled with quality materials, will not only preserve the structural integrity of your walls but also maintain the overall value of your home.
If you face any problems with your drywall repair or finishing, just contact Drywall Medic and we will be happy to give you the help you need. Our team of trained drywall repair technicians can fix an assortment of drywall and texture repairs, and finish with quality painting that lasts a long time.
Let’s get into a few of the common drywall finishing problems home and property owners in Victoria commonly face: One major issue is visible seams or joints, which can ruin the smooth appearance of walls and ceilings and may require additional sanding or reapplication of joint compound. Another common problem is nail or screw pops, where fasteners become visible over time due to shifting or settling. To avoid these issues and improve the overall look, many homeowners turn to home design tips and inspiration, helping them find creative ways to enhance spaces and create a seamless finish.
1. Bubbling or Blistering:
Problem: Air or moisture that gets trapped between joint compound layers or between the compound and drywall causes bubbling or blistering.
Solution: Make sure the joint compound is completely dry before adding more layers to avoid bubbling. This is critical and often overlooked by eager contractors and homeowners who want to speed up the process. Once you’ve applied the joint compound, allowed it to dry and sanded the rough edges, seal the surface using a premium drywall primer. If bubbles do appear, pierce them carefully with a utility knife, allow the surface to properly dry, add more joint compound, and sand the area smooth when it has dried.
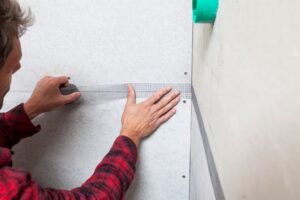
2. Taping Problems:
Problem: Visible seams and an uneven surface can be caused by taping issues, such as tape lifting or wrinkling.
Solution: Make sure the tape is properly embedded into the joint compound and free of creases and air pockets. For a seamless finish, use a drywall or taping knife to smooth the tape and feather the compound’s edges. Should the tape elevate or crumple, reapply joint compound and smooth the edges to match the surrounding surface. If this sounds complicated, it’s probably best to give Drywall Medic a call at 250-880-8849 and we’ll come assess your situation and fix it professionally.
3. Joint Compound Shrinkage:
Problem: When joint compound dries, shrinkage takes place, causing noticeable fissures or indentations in the finished surface.
Solution: Use hot mud, or setting-type joint compound, which dries by chemical reaction instead of evaporation – which is less likely to shrink. Apply thin layers of compound, sanding between each coat to ensure it dries completely before applying the next. Use fiberglass mesh tape or an elastomeric patching material to offer strength and flexibility to bigger gaps or cracks.
4. Uneven Texture:
Problem: Improper sanding procedures or uneven joint compound application can cause uneven texture, which can show as ridges or valleys on the surface.
Solution: The trick to having smooth surfaces is to use a tape knife or drywall knife to feather the edges for a smooth transition after applying joint compound evenly and smoothly. This reduces the amount of sanding needed to make the surface smooth. Let each layer of compound completely dry prior to sanding. And for bigger areas, use a pole sander or sanding block to guarantee a consistent texture throughout the surface.
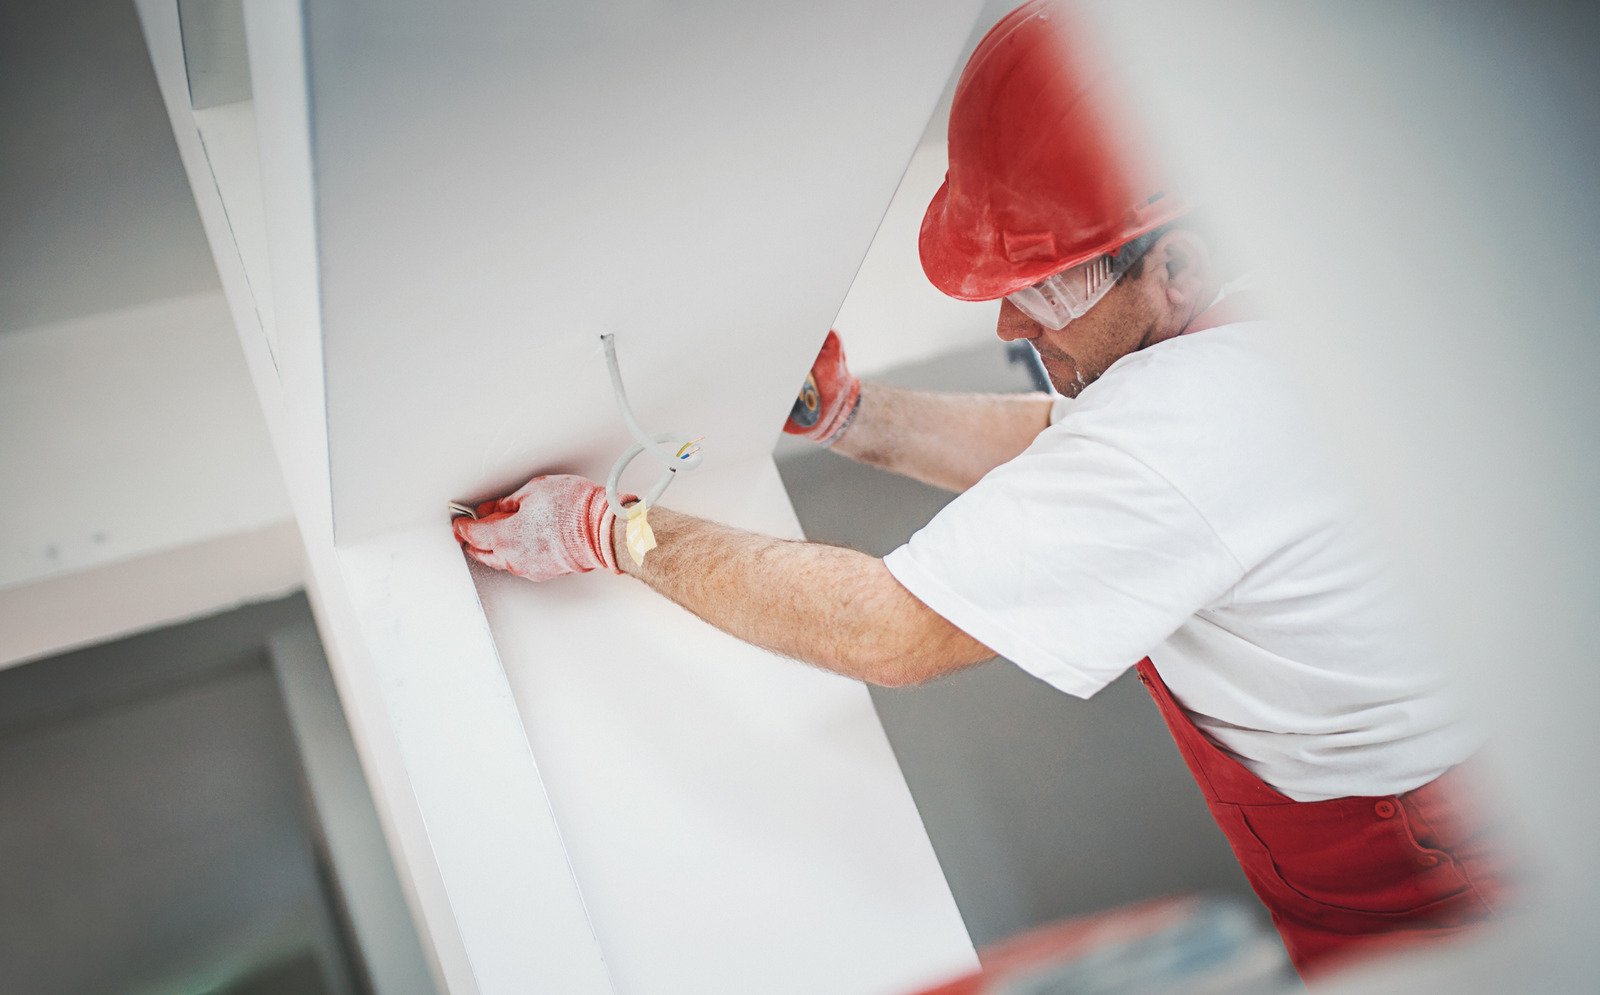
5. Popping Screws or Nails:
Problem: Over time, the screws that held the drywall to the framing can break loose, causing protruding or depressed areas on the surface. This is known as popping screws or nails and is usually caused by over-tightening the screw so that it breaks through the drywall paper. This issue not only creates uneven surfaces but can also weaken the overall stability of the wall if not addressed promptly. Along with popping screws, one of the common causes of drywall cracks is structural settling, where the foundation or framing shifts slightly over time. Environmental factors such as changes in humidity and temperature can also contribute, exacerbating the occurrence of cracks and surface issues.
Solution: Make sure the drywall screw are positioned in accordance with construction codes, at the proper depth and spacing, to avoid the screws from popping again. Drive screws slightly below the drywall’s surface using a screwdriver or a drill equipped with a depth setting to prevent the paper from breaking. Should pops happen use joint compound to seal the hole, and insert a new screw or nail next to the original one and start again.
Keep in mind, this procedure takes experienced professionals and if you really want a job well-done, it’s best to contact Drywall Medic and have our team perform this work. Our skilled team is equipped to handle each aspect of the process with precision and care, ensuring a seamless finish that meets your expectations. With our expertise, we can guide you through the drywall installation stepbystep, making sure every detail is executed flawlessly. Trusting professionals like Drywall Medic not only saves you time and effort but also guarantees quality results that stand the test of time. By relying on experts who understand the nuances of how to finish drywall, you can avoid common mistakes that often lead to costly repairs down the line. Our team takes pride in delivering a smooth and polished result that enhances the overall aesthetics of your space. Let Drywall Medic handle the hard work, so you can enjoy a stress-free experience and beautifully finished walls that will last for years to come. Additionally, our team is always happy to share helpful drywall installation tips along the way, empowering you with valuable knowledge for future projects. Whether it’s tackling tricky corners or achieving that perfect smooth finish, we’ve got the expertise to address any challenge with confidence. By choosing Drywall Medic, you’re not just hiring a service—you’re investing in a stress-free, high-quality experience that delivers lasting results.
6. Joint Shadowing:
Problem: Joint shadowing, also known as joint banding, occurs when the joints between drywall panels become visible after painting or finishing.
Solution: Before painting or finishing, thoroughly prepare and sand the joints to provide a uniformly smooth surface. To seal the surface and reduce the visibility of joint lines, use a premium primer like Sherwin Williams PVA drywall primer sealer. Always apply a generous amount of primer, and make sure the joints are well covered and blended in with the surrounding surface by using a roller with a thick nap.
7. Texture Matching:
Problem: It can be difficult to match textures, particularly when repairing or patching drywall that has been already installed with different textures.
Solution: Using the right tools and techniques, start by examining the existing texture pattern, such as popcorn, orange peel, or knockdown, and attempt to replicate it as nearly as you can. Use a small piece of scrap drywall or a discrete area for practice before applying the texture to the repair area. Use textured paint or aerosol texture spray to make the repair suitable with the surrounding surface if there are just slight texture differences.
Conclusion
It takes close attention to detail, the right methods, and the appropriate equipment and supplies to achieve a perfect drywall finish. Through the identification and implementation of suitable solutions to typical finishing issues, homeowners in Victoria and Vancouver BC may guarantee a consistent and flawless surface that elevates the overall visual appeal of their interior areas.
This also helps allow the top coat paint coatings (or wallpaper) to adhere properly, leaving a professional finish. To achieve this level of precision, it’s important to follow perfect drywall finishing tips, such as ensuring joints are properly taped and compound layers are evenly sanded for a seamless result. Investing time in these meticulous steps not only prevents imperfections like bubbles and ridges but also enhances the overall durability of the finish. By incorporating these techniques, homeowners can transform their spaces with a polished and professional look.
Whether tackling a new construction project or renovating an existing space, following these troubleshooting tips will help achieve professional-quality results that stand the test of time. Professionals from Drywall Medic also use these techniques, if you want to hire them then contact details for Drywall Medic is as follows.
- Victoria, BC: #136 – 2936 Amy Rd, Victoria, BC, V9B 0B2, Contact Number- 250-880-8849,
- Vancouver, BC: 6894 192 St, Surrey, BC V4N 0B7, Contact Number- 604-913-4656